Making 3D-Printed Fidget Spinners
Making 3D-Printed Fidget Spinners
Jun 02, 2017
Ian Cole
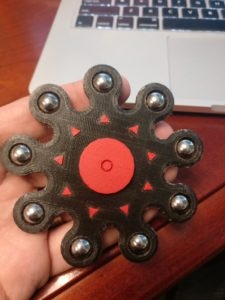
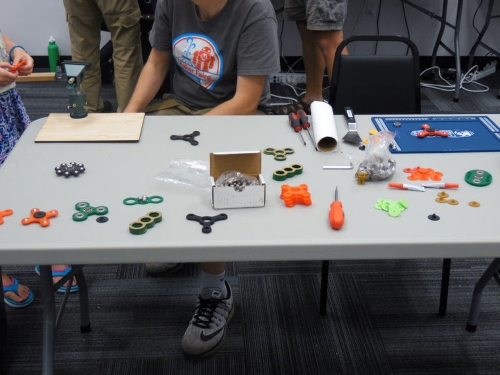
Fidget Spinners are 2017’s big fad – there are many ways to make them, and 3D printing gives you a ton of customization options. In this case, we are using steel balls as the outer nodes. These slingshot balls are inexpensive and small enough that we can make spinners with a bunch of nodes. The balls press in, and then can still rotate, giving you yet another way to fidget. Here’s a few examples we’ve made so far…
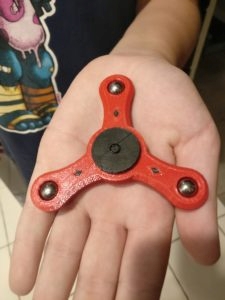
3 nodes with diamond insets
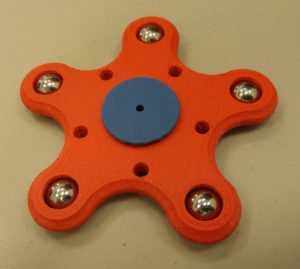
5 nodes with circular inset holes
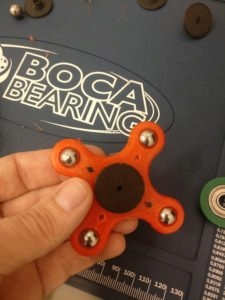
4 nodes with diamond insets
Someone “accidentally” glued two spinners together – which made for a very awesome slow motion video
To make a spinner like this, you’ll need the following:
- 608 bearings – we LOVE the 608-Y bearings from Boca Bearings (and they graciously provided the bearings for our workshop and this set of instructions)
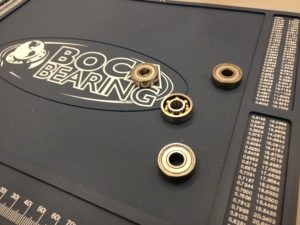
The 608-Y bearing for the center of the spinner is the open bearing. The others can be used as nodes if desired. We used steel balls for the nodes in this case, but for our laser-cut spinners, we used all 608 bearings.
- Slingshot Ammo – we bought a few sizes, but the 7/16 balls from Amazon were our favorite.
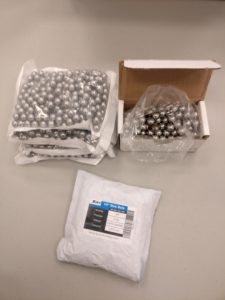
We bought a few sizes, but the 7/16 was our favorite.
- 3D Printer – We used a DeltaMaker 3D Printer (they build printers just up the street from MakerFX, and graciously loaned us printers for the workshop)
- Filament – We used DeltaMaker PLA filament (old partial rolls of PLA are great for these type of prints)
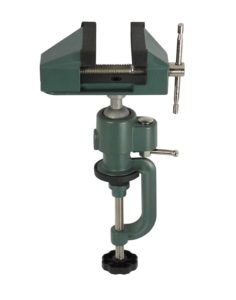
- Tool to press in the bearing and the steel balls – we used a small desk mount vise.
If you don’t have these tools, visit your local makerspace. MakerFX Makerspace is in South Orlando, and we’d be happy to have you visit on an Open Make night to learn more. If you can’t find a makerspace near you, email us and we will help you find one near you.
Let’s walk through how to design one, using a great set of customizers on Thingiverse.
We started with the very awesome “BOT Spinner” on Thingiverse – the preview pic shows some of the possibilities.
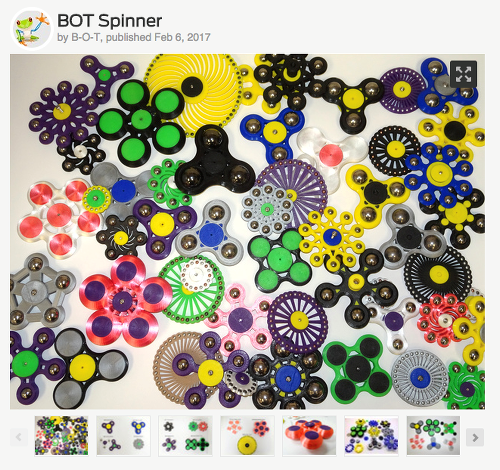
This customizer is amazing – you can change a TON of variables which change the overall size, shape, number of nodes, inserts, and more. There are over 30 variables…it can be a little intimidating until you get in and start changing them to see what happens…
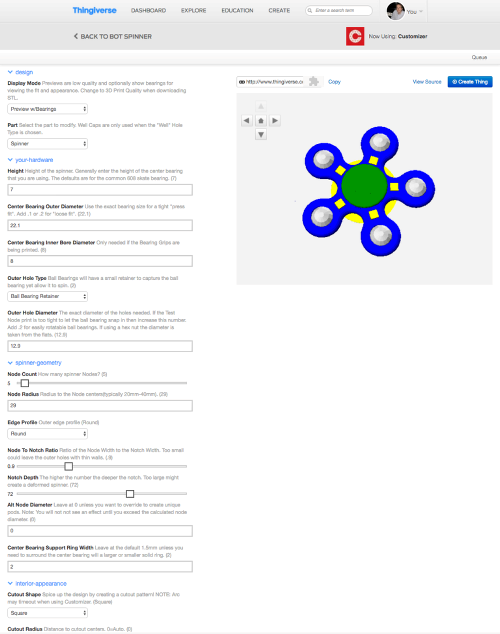
Bot Spinner also has a great feature which lets you print just a test node to get your sizing setup for your specific node bearings or balls.
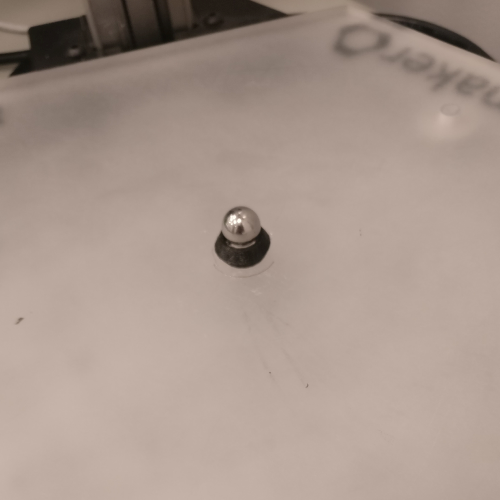
I printed 4 or 5 of these nodes, increasing the size slightly until the ball could be pressed into the node without breaking it…
Once you get your spinner design just perfect, switch the output quality to 3D print (I may have missed that on my first few spinners even though it is very clearly in the instructions…) and choose “Create Thing” to generate the .stl file. (Note that you separately generate and print the caps for the center bearing, and the decorative inserts)
In our case, we copied the .stl over to Octoprint on the DeltaMaker3D printer and used the onboard slicer to generate the g-code. (Note that using Simplify 3D can both increase the print quality and decrease the print time – we did that for some of the designs that we wanted to print in quantity…)
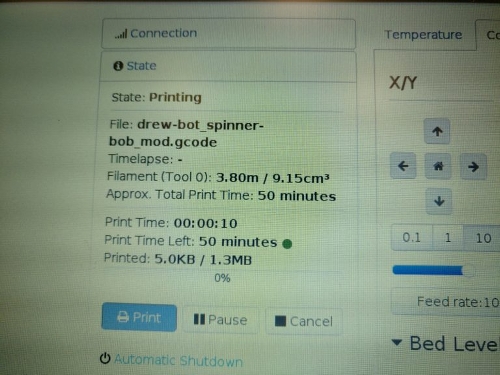
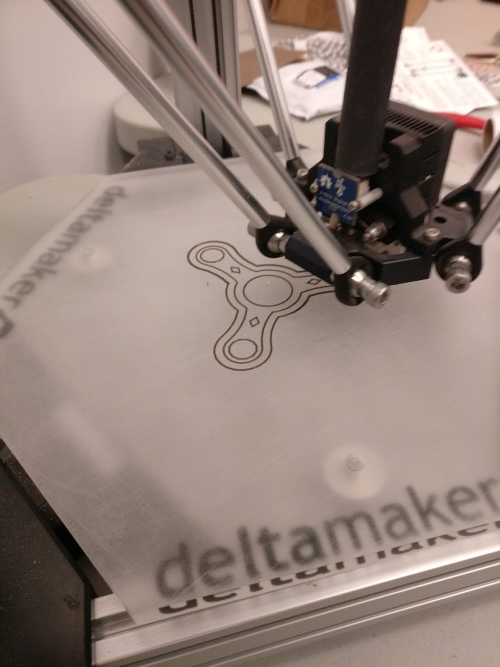
Printing in PLA on the DeltaMaker 3D Printer
For our workshop we had a number of pre-printed spinners for those that wanted the “fast pass” experience without waiting several hours for their spinner to print!
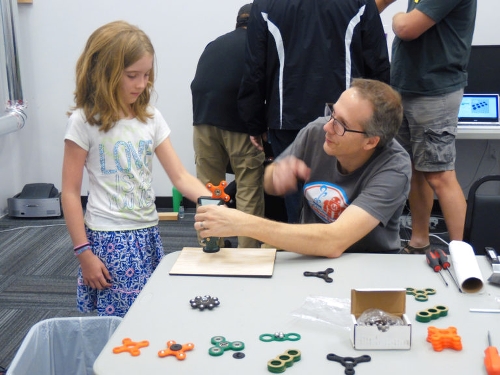
Use a small bench vise with rubber protectors to press the steels balls into the spinner body
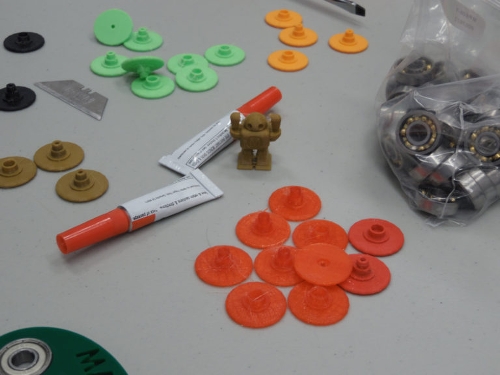
We also printed a bunch of the center bearing caps in different colors. Sometimes they need a bit of CA glue to hold them together (especially after being dropped once or twice…)
We also made some spinners from two layers of 1/8″ green acrylic and 608 bearings in the center and the nodes – you can see them in some of the pictures, and I’ll document them in another post.
For our workshop, Bob at DeltaMaker forked the BOT Spinner to make BOT Spinner EZ – which removes a lot of the variables – specifically locking the node size to hold the 7/16 steel balls. He also made it output all the parts at one time if desired. This was a HUGE help in a class setting – Thanks Bob!
Note: These instructions made possible by the donation of bearings by Boca Bearings, and the use of 3D printers and filament from DeltaMaker.
Originally Posted to Makerfx.org.