3D Printed Robotic Hand: Part 2 - Pre-build
3D Printed Robotic Hand: Part 2 - Pre-build
Sep 05, 2017
Gerardo Ramos
Design:
For the design of the robotic portion of this project I will be using a 3D printed hand that was created by InMoov. InMoov is a open source 3D printed life size robot. The link to their website is:
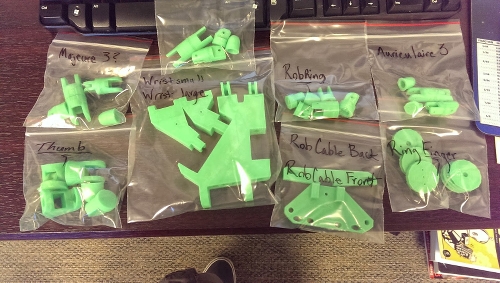
InMoov provided the 3D printed files that I am currently in the process of finishing printing. The color I used for the hand will be glow in the dark green since it was the most abundant of PLA that was in stock here at Boca Bearing. I still have some more parts that I need to print. At the moment the 3D printer is down due to connection issues but should be fixed soon.
To control the robotic hand I will be using a regular glove that I will be getting soon probably from Wal-Mart. The glove doesn't have to be special. It just has to be fabric and have space where I can sow the flex sensors and the LilyPads onto.
Materials List and Cost:
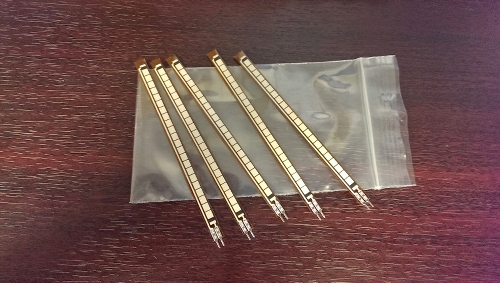
As mentioned in the previous phase, I have compiled the list of the materials that I will be using for this project. The parts that I ordered from SparkFun.com are the following: 5 4.5 inches flex sensors for the fingers, $12.95 each, to detect when the hand is being closed in a fist or open.
https://www.sparkfun.com/products/8606
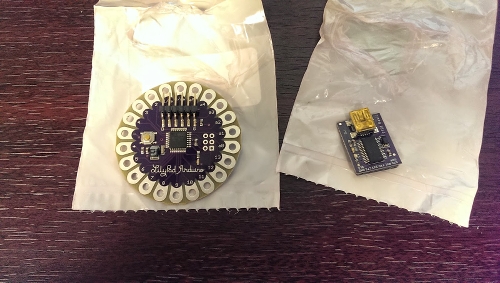
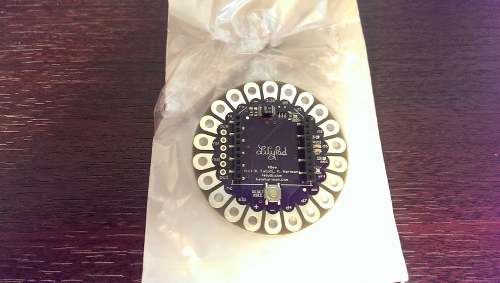
A LilyPad Arduino Board with 6 analog inputs, $19.95, to program it with the flex sensors. And a LilyPad FTDI adapter for $17.95. Without the adapter, I won't be able to program the LilyPad.
https://www.sparkfun.com/products/9266
https://www.sparkfun.com/products/10275
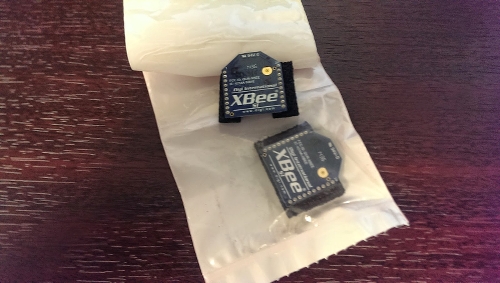
2 XBee module for radio communication between the robotic hand and the glove, $24.95 each.
https://www.sparkfun.com/products/11215
A LilyPad XBee shield to connect the XBee module to the glove, $14.95.
https://www.sparkfun.com/products/12921
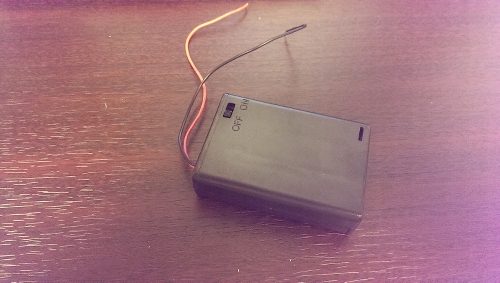
Battery Pack for 3 1.5V batteries with a switch integrated in the case, $1.95. This will provide the power needed for the LilyPad.
https://www.sparkfun.com/products/10891
The total cost for the parts from SparkFun was $166.45 with free shipping. I no longer order the shield to connect the xBee to the Arduino since I will be making my own to make sure everything will fit together.
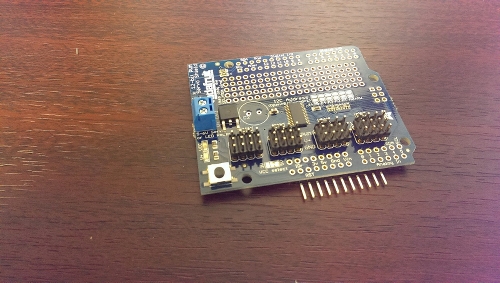
From AdaFruit.com I ordered the Servo shield for $24.46 with shipping. This shield has the capability to control 16 servos. The motor shield that I used for the line follower could only control 2 servos, which isn't enough. As you can see in the pictures, I have to solder some of the parts onto the shield. I think I might also need to order some headers to stack the shield right on top of the Arduino Uno.
http://www.adafruit.com/products/1411
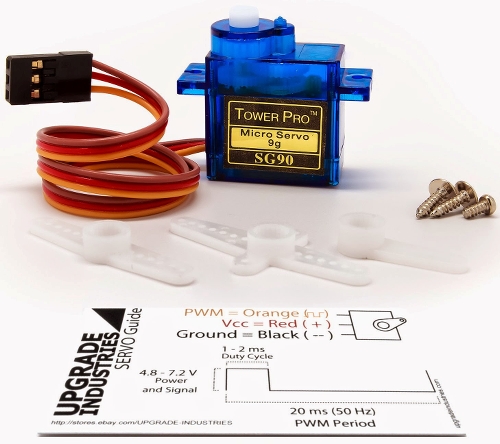
From Amazon I ordered 5 TowerPro servos for $13.80 with free shipping. Here is a photo of the servo I ordered. I still haven’t actually received them yet so I couldn’t take a picture of them yet.
http://www.amazon.com/gp/product/B001CFUBN8/ref=ox_sc_act_title_1?ie=UTF8&psc=1&smid=A2GK7A6TB26EBL
The total cost so far came out to $204.71 which is less than $229.53 that was anticipated in costs. I saved some money by going with smaller servos since I thought I might not really need strong servos. I also decided not to get the Arduino XBee shield since I can make my own out of a perforated board.
Purchasing:
For all the parts that I ordered, I had them delivered to Boca Bearings where I will be completing this project. Boca Bearings is covering the costs for the parts of this project.
Receiving:
So far I have received all my parts except for the servos. I am still waiting on the servos to come. All the parts that I ordered from SparkFun.com came in a small red orange box.
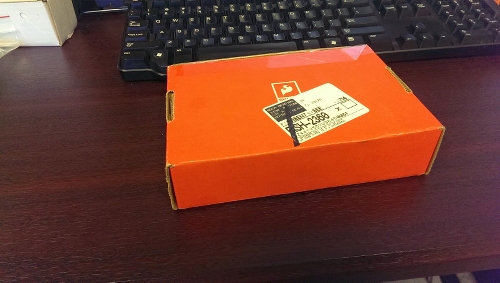
I was surprised that the box was small. I was anticipating a larger box. But everything I ordered from SparkFun.com came in perfect condition with no damage to the parts. The servo shield from AdaFruit.com came in a parcel package.
Documentation Plan:
My plan for documentation will be the same as before for the line follower robot. I will take pictures of everything that I am working on as I go. After completing a part I will then do the write up on how I made that part. Maybe this time I will also be taking some videos of me completing the project. I will soon work on the making of the glove soon since I have all the parts. I just need to get some resistors from my school and a glove then I will be ready to go.
If you have any questions or would like to know anything about the setup, just drop a comment and I'll try to get back to you as soon as possible.
Gerardo