Instructables-Drift Bike
Instructables-Drift Bike
Apr 14, 2021
Marc Tobel
I’ve been wanting to build a drift trike for a while now as a personal project and finally got the chance at my internship with Boca Bearings. This was my first time welding and fabricating with large pieces of metal, but I wanted to give myself a challenge. I’ve learned a lot just from doing this project and would definitely change some things if I were to design another trike, but I am happy with the end result of the build.
Anyways, let's get into it.
Step 1: The things you will need
You don’t have to obtain these exact components to make your drift trike. These are just the parts I used and where I got them.
Square tubing:
https://www.mcmaster.com/square-tubing/low-carbon-steel-rectangular-tubes/
Normal tubing:
https://www.mcmaster.com/tubing/steel/multipurpose-low-carbon-steel/od~1/
Disk brake:
https://www.gopowersports.com/go-kart-mechanical-brake-disc-kit-9511-9598-th1000/#aid=3011
Engine:
Rear axle:
https://www.gopowersports.com/axle-1-diameter/
Muffler:
https://www.gopowersports.com/exhaust-accessory-kit-1-or-1-5-16-opening/
Header:
https://www.gopowersports.com/301cc-420cc-straight-back-header-pipe/
Rear wheels/tires:
https://www.gopowersports.com/build-your-own-6-performance-tire-assembly/
Pillow Block and bearings for rear axle:
https://www.bocabearings.com/products/ucp206-19-1239
PVC sleeves:
Seat:
Handlebar grips:
Pipe Bender:
https://www.harborfreight.com/12-ton-hydraulic-pipe-bender-32888.html?_br_psugg_q=pipe+bender
Sprocket:
https://www.gopowersports.com/split-sprocket-41-420/
Clutch and chain:
https://www.ombwarehouse.com/clutch-41-14t-1-hilliard-extreme-duty-4-of-41-chain.html
Source a BMX bike, 20inch (preferably with pegs)
Welder
Angle grinder with metal cut blade and polish disk
Standard wrenches and misc tools
Step 2: Designing a chassis
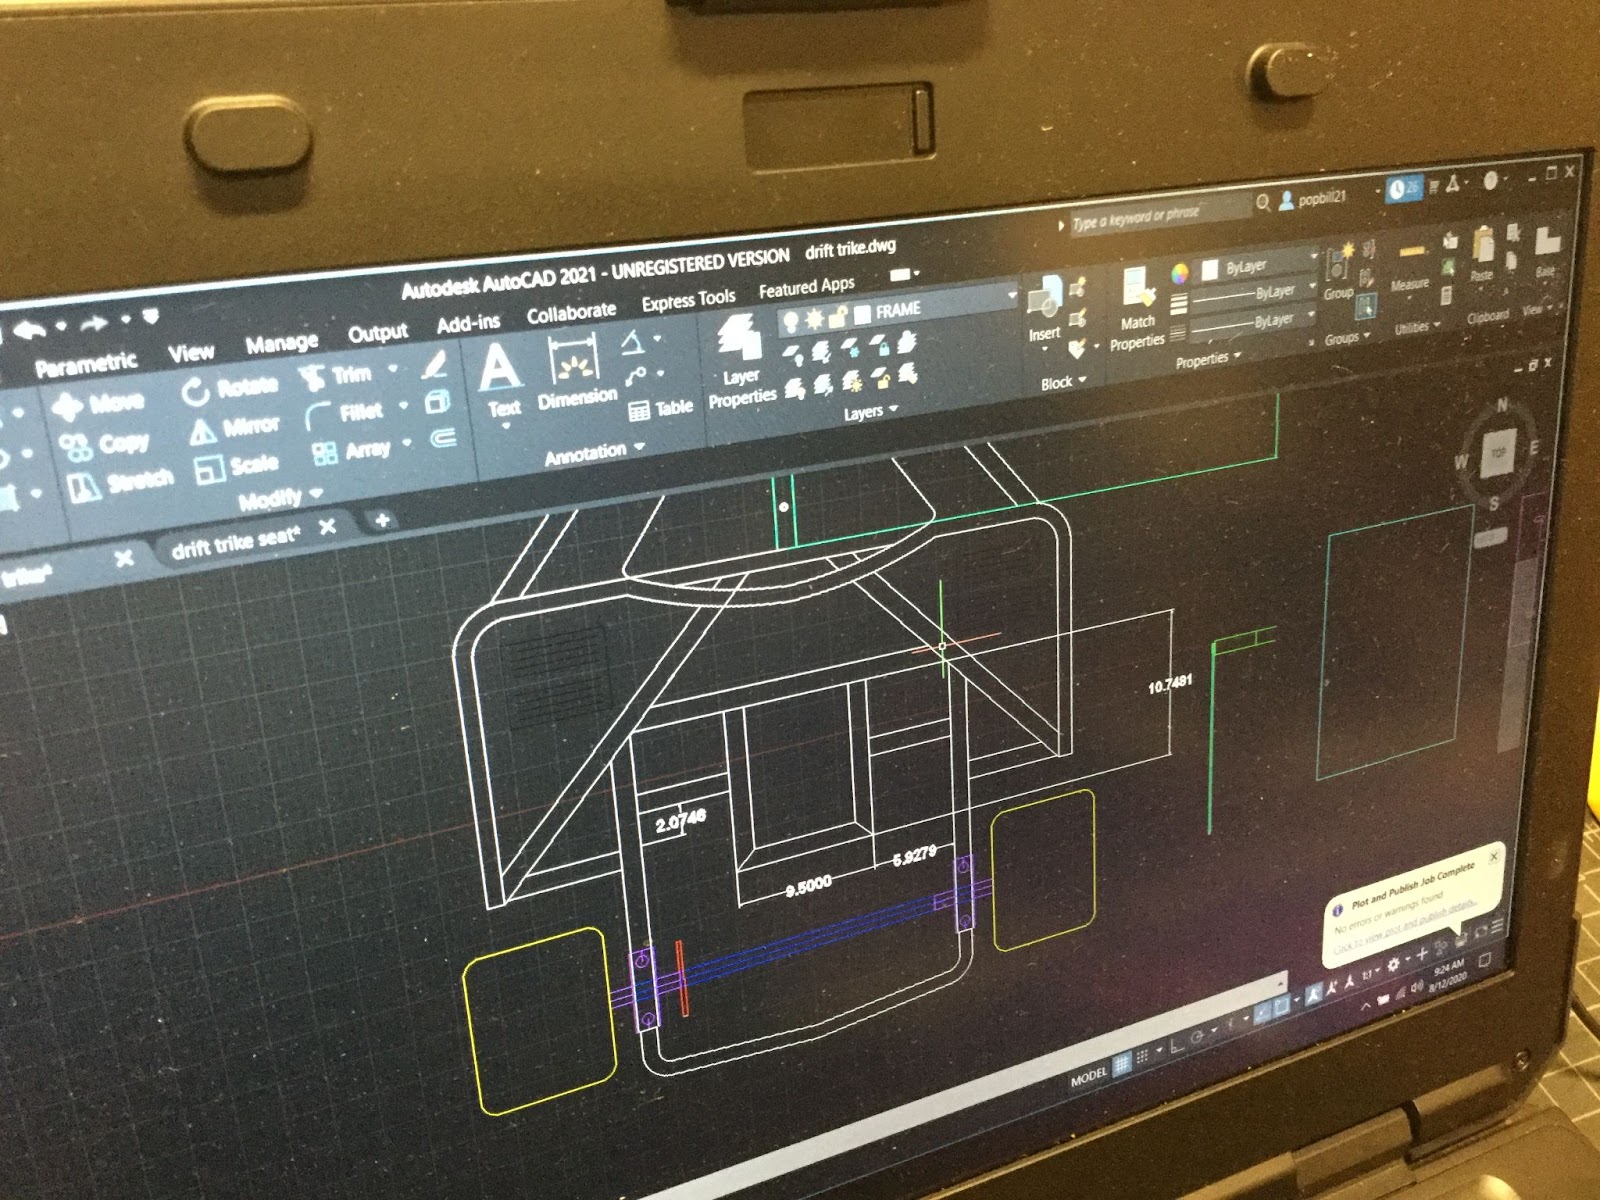
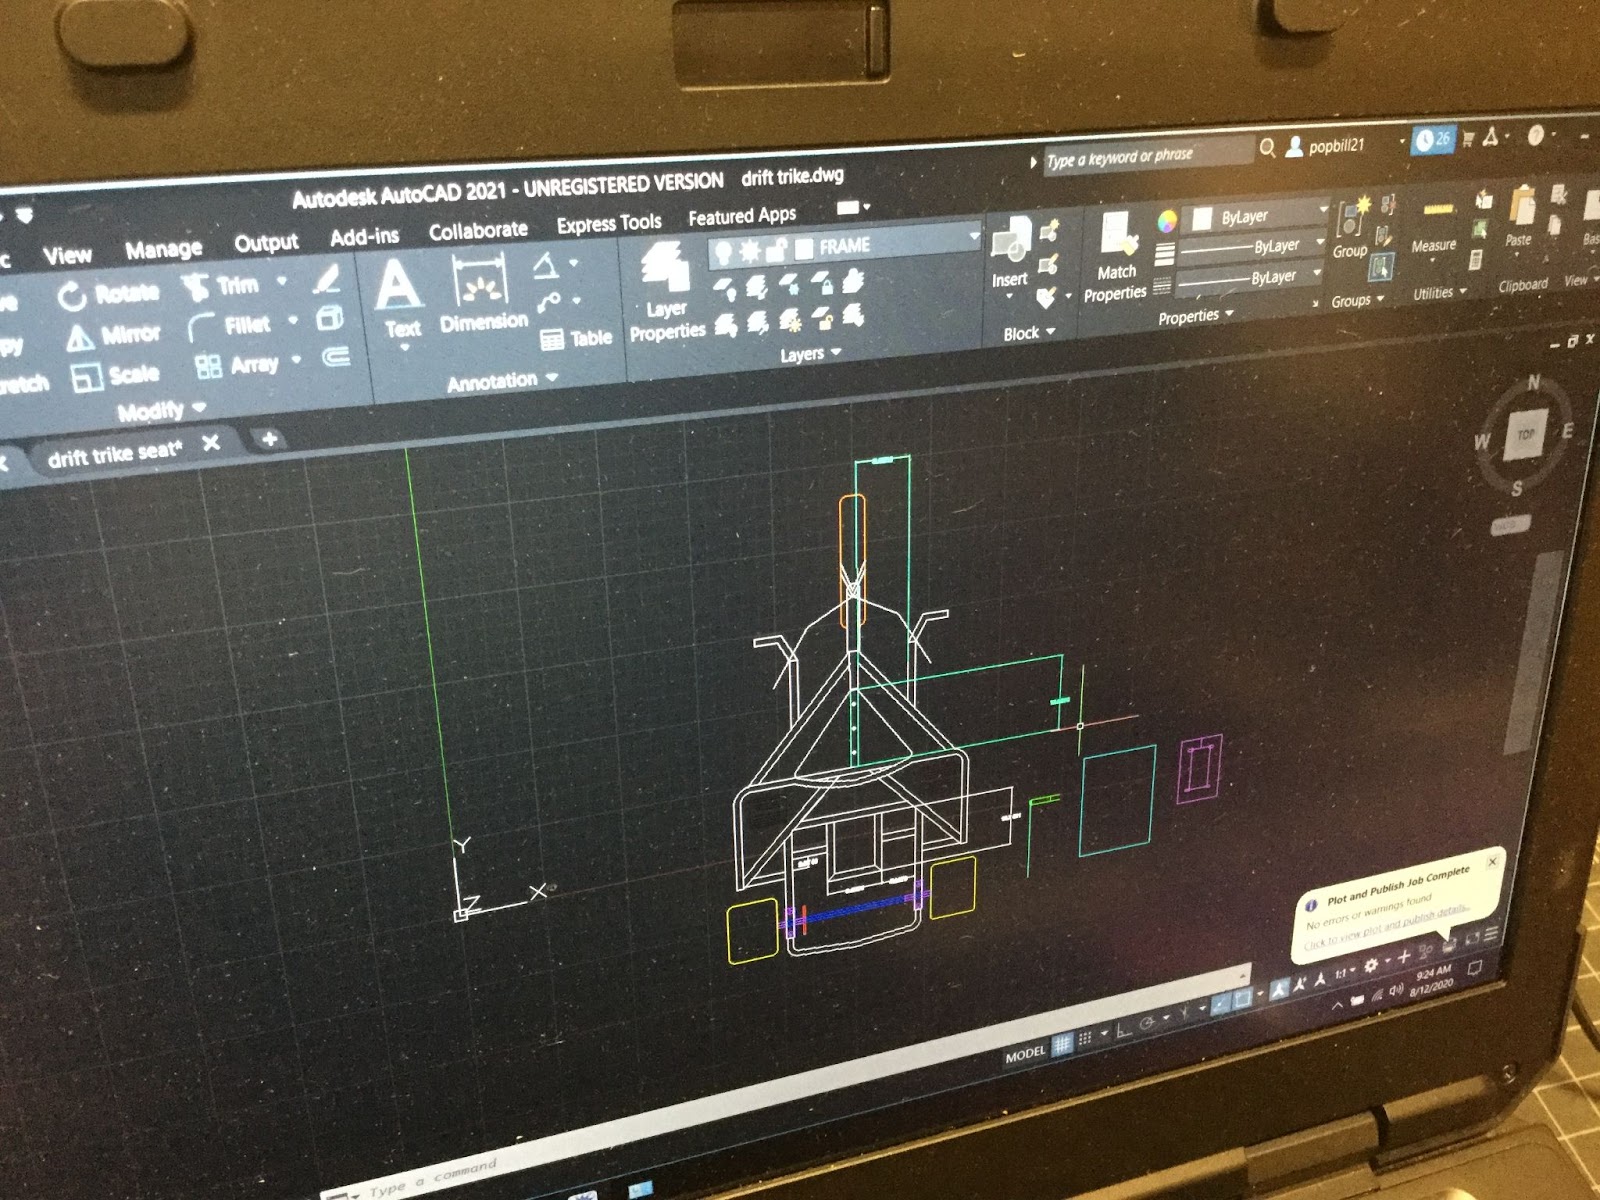
You can design it however you’d like. I decided to use CAD and draw out my design so I could get dimensions and scaling correct for components. I wanted the chassis to be bigger and stronger than normal, as I wanted to mount my 420cc engine in the middle for better weight distribution and looks. These were my initial drawings in CAD:
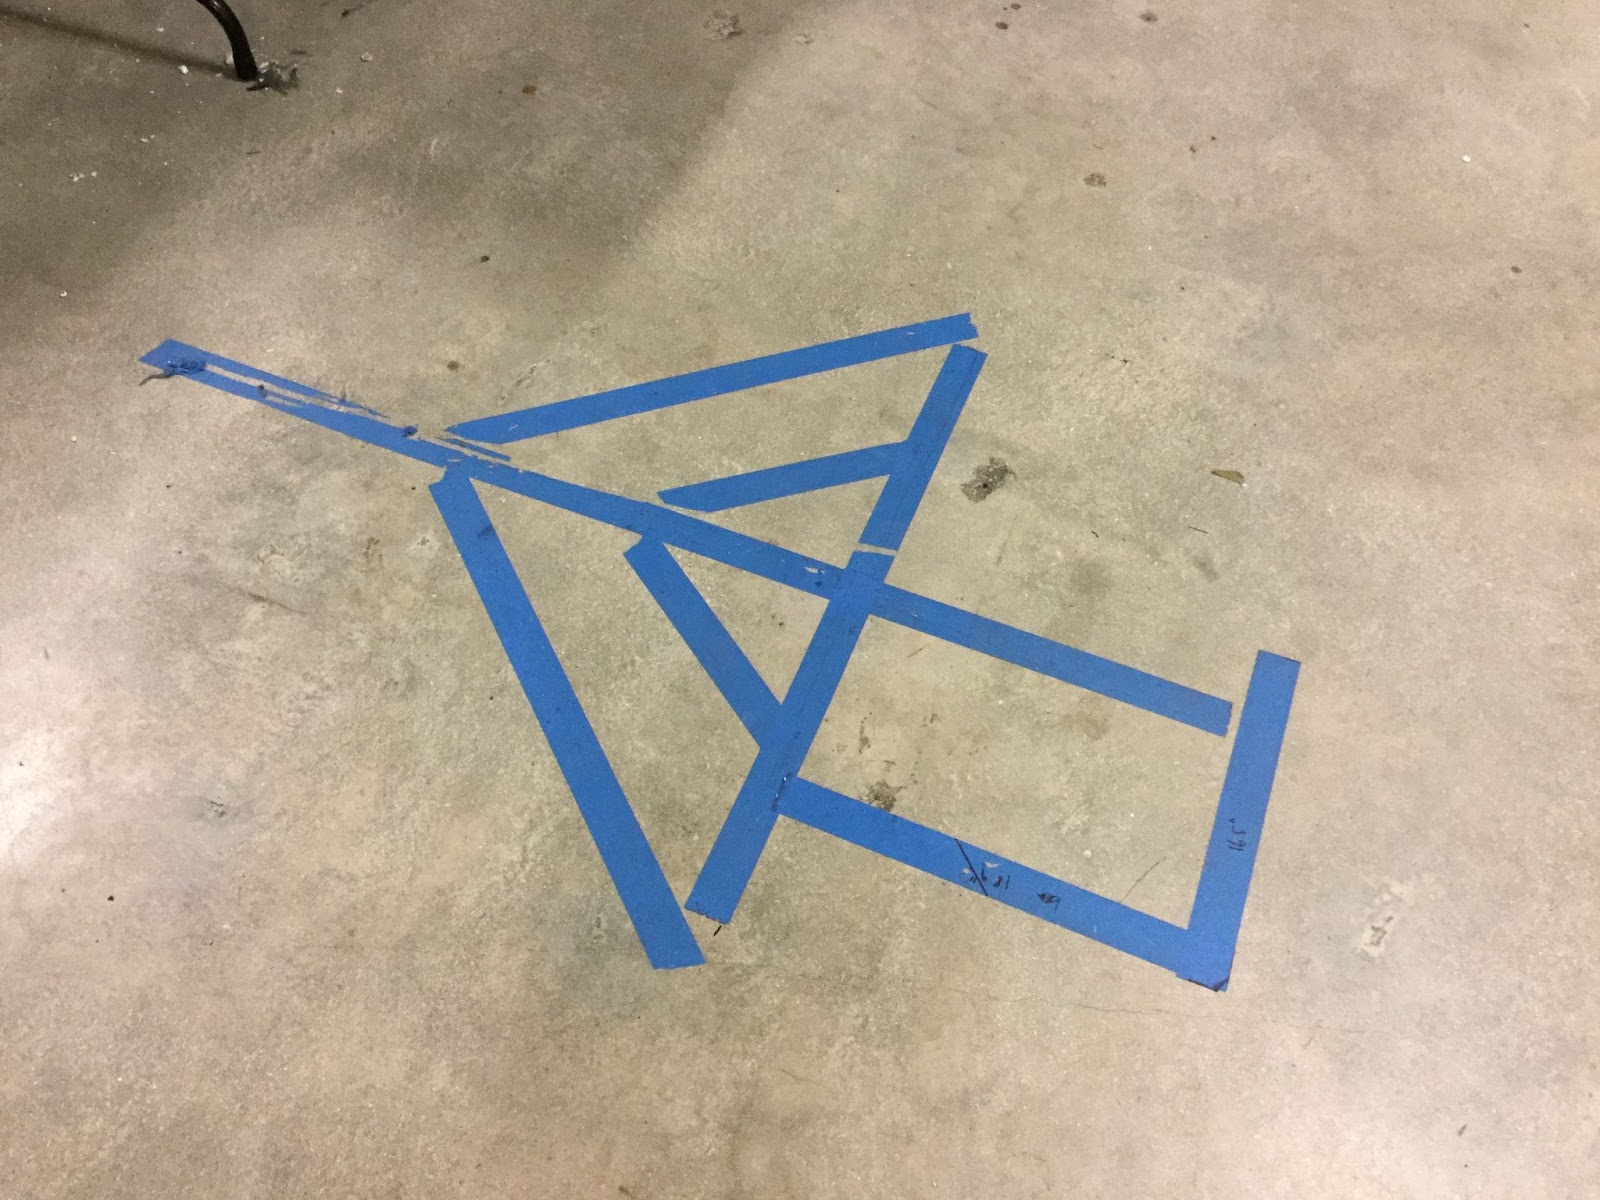
I also taped out a section of my floor to see how my idea would line up with the tubing I had, as well as get rough dimensions for what I wanted when it came time to put it into CAD.
Step 3: Assembling the rear frame
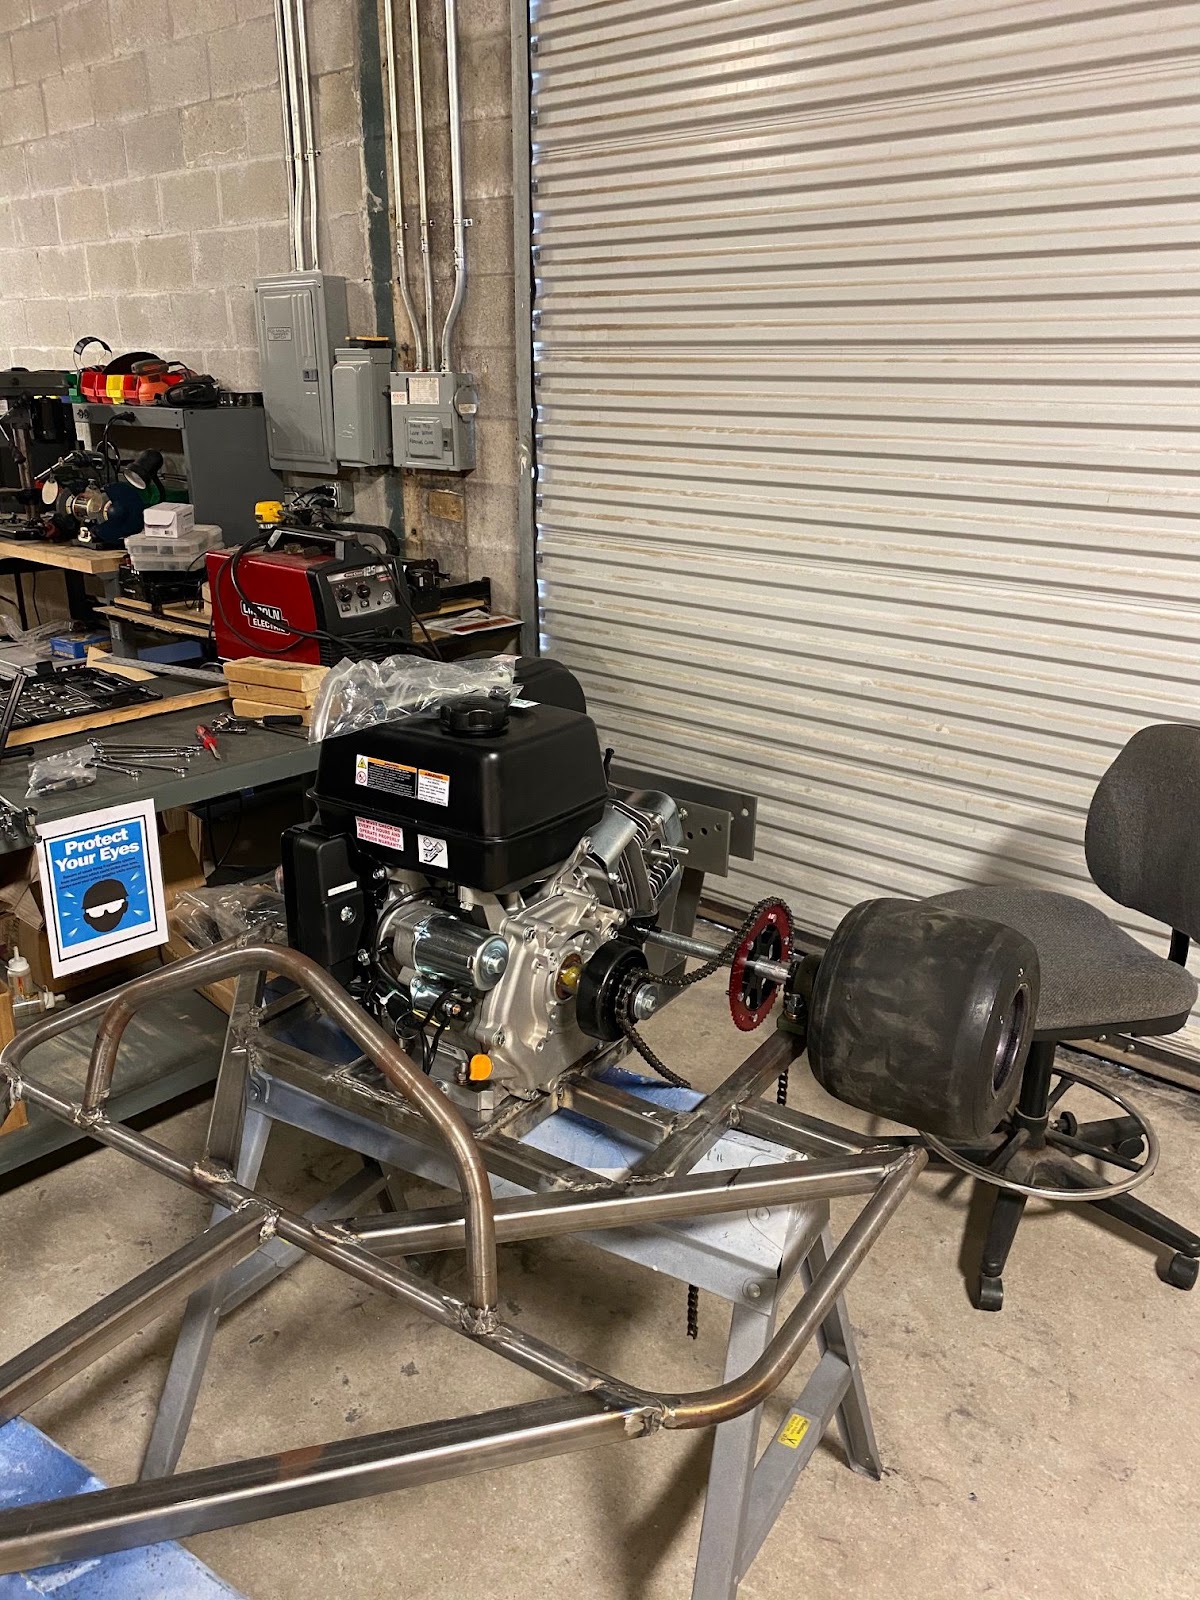
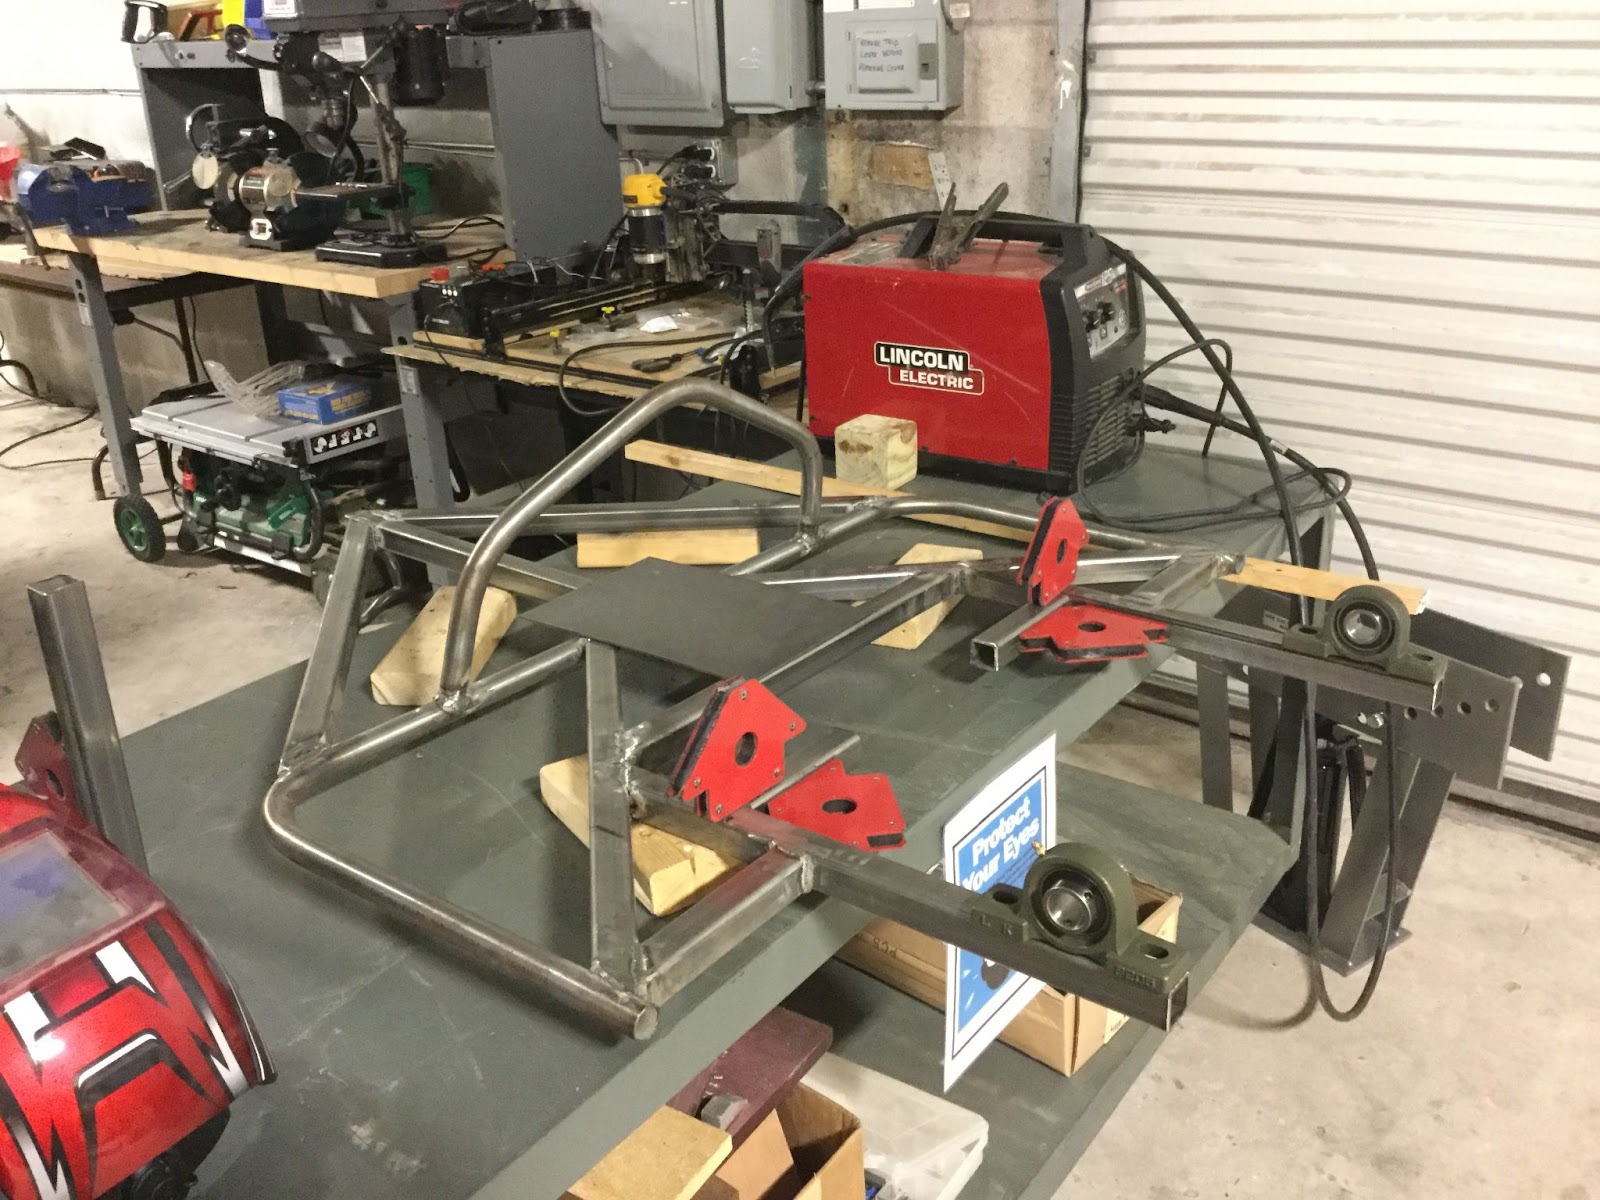
After you have your initial design and tubing ordered, it’s time to start welding the rear part of the frame. I began by cutting 6ft pieces of square tubing and notching them up to the round tubing I had already bent to shape using a pipe bender. I then followed my design and cut pieces accordingly, tacking them in with my welder. After everything lined up I fully welded the rear frame in place. I then began to drill holes for the rear pillow blocks and axle assembly.
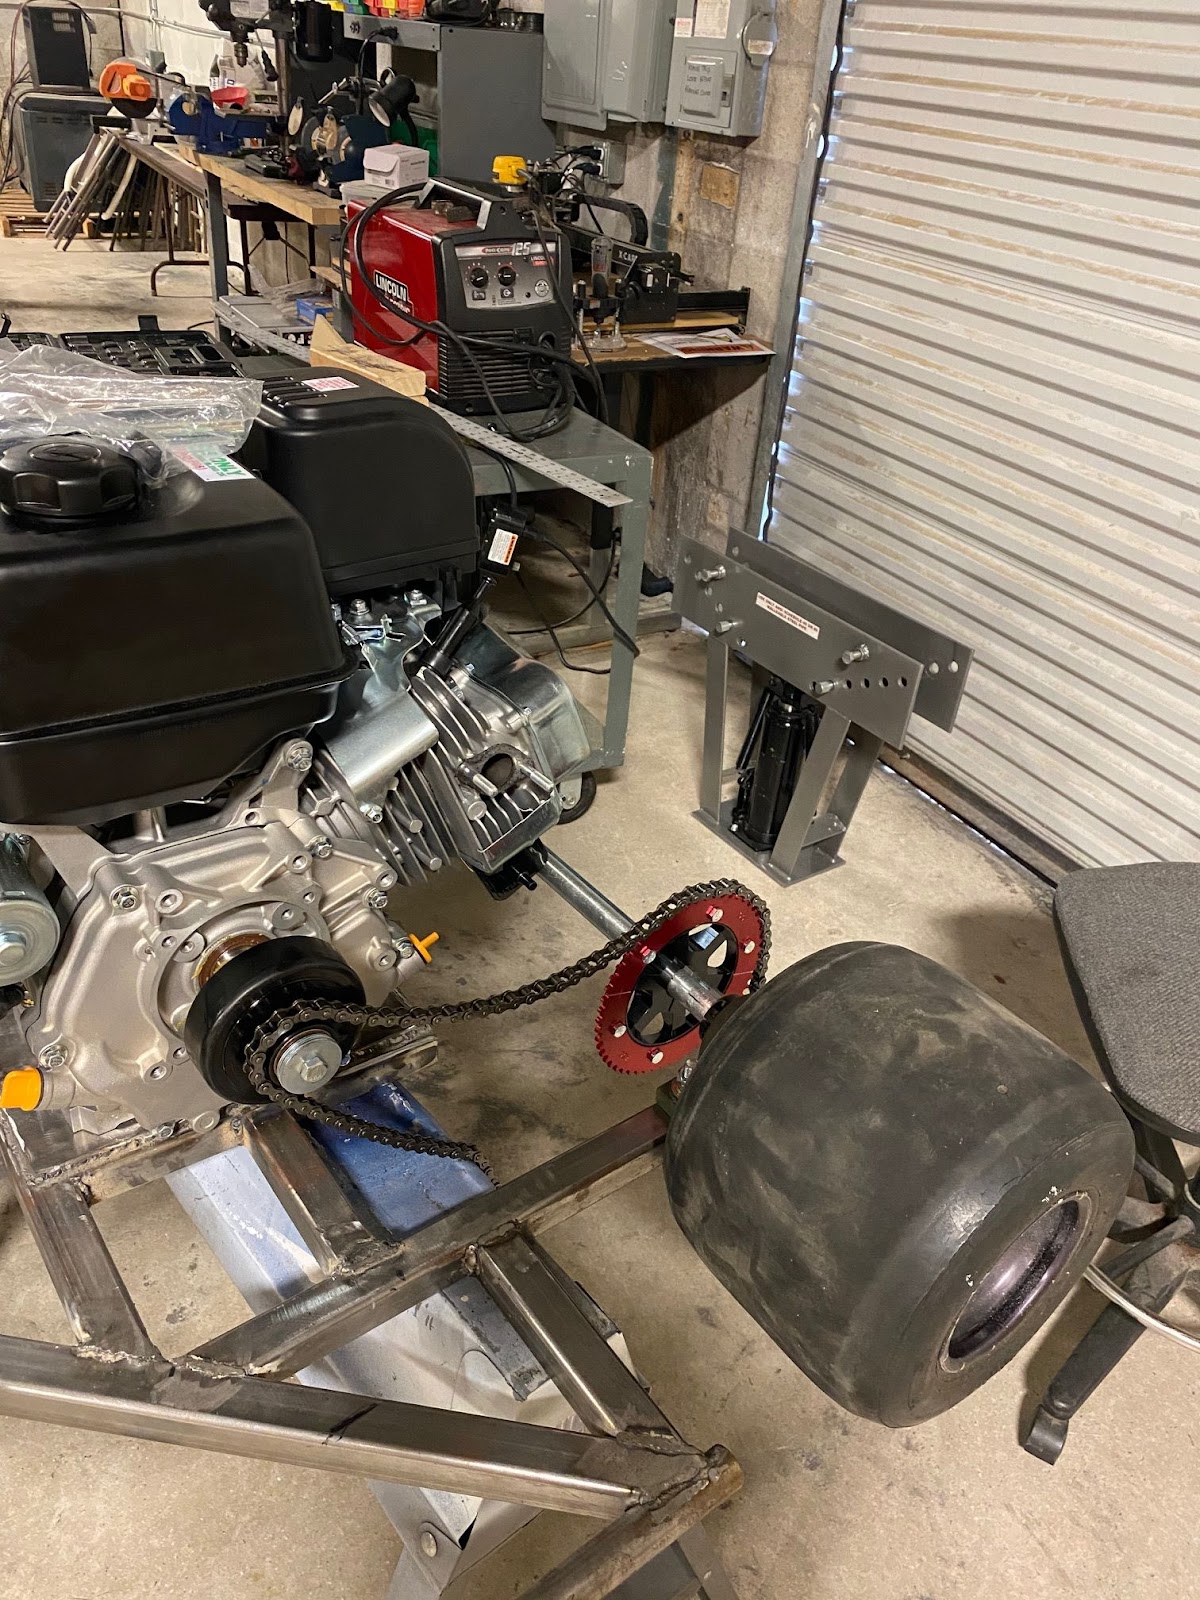
Start to put together the rear axle assembly by mounting the sprocket, pillow blocks, rear brake and wheels to the axle. After you have the rear axle assembled and mounted, mount the engine to the rear frame with clutch attached. Align rear sprocket and clutch sprocket and then install the chain.

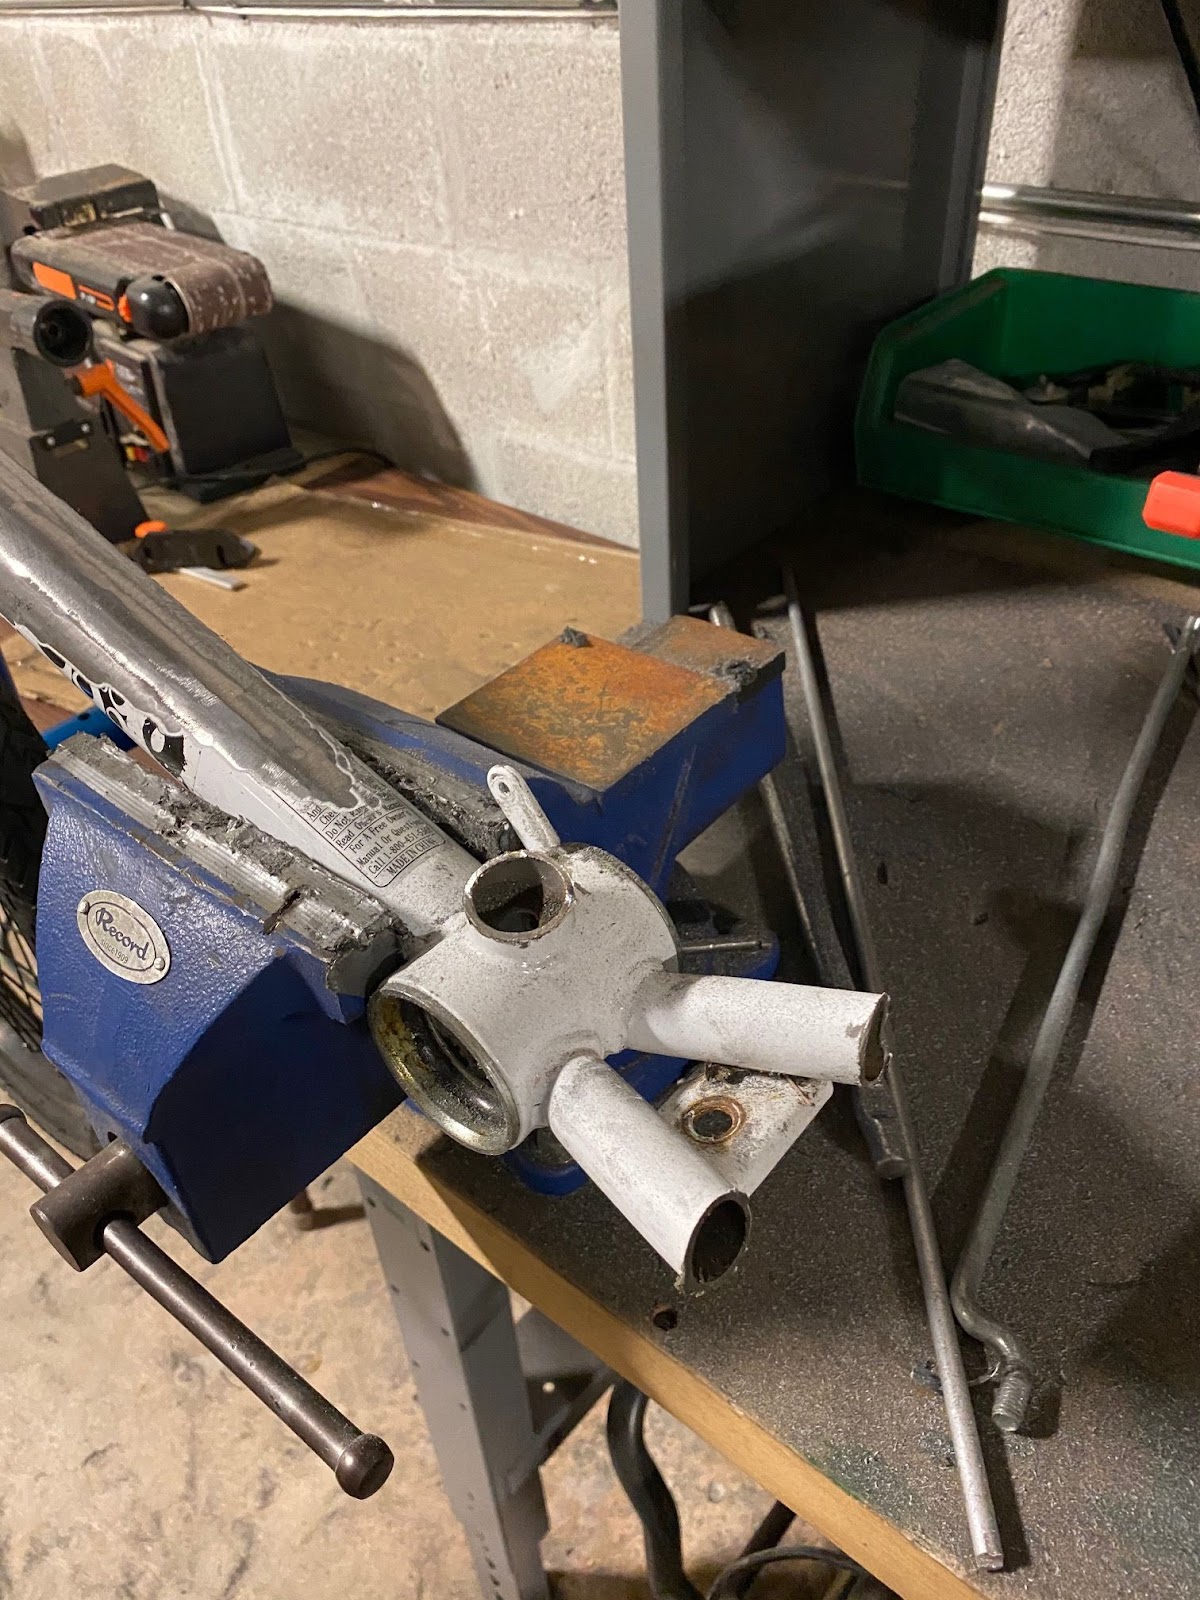
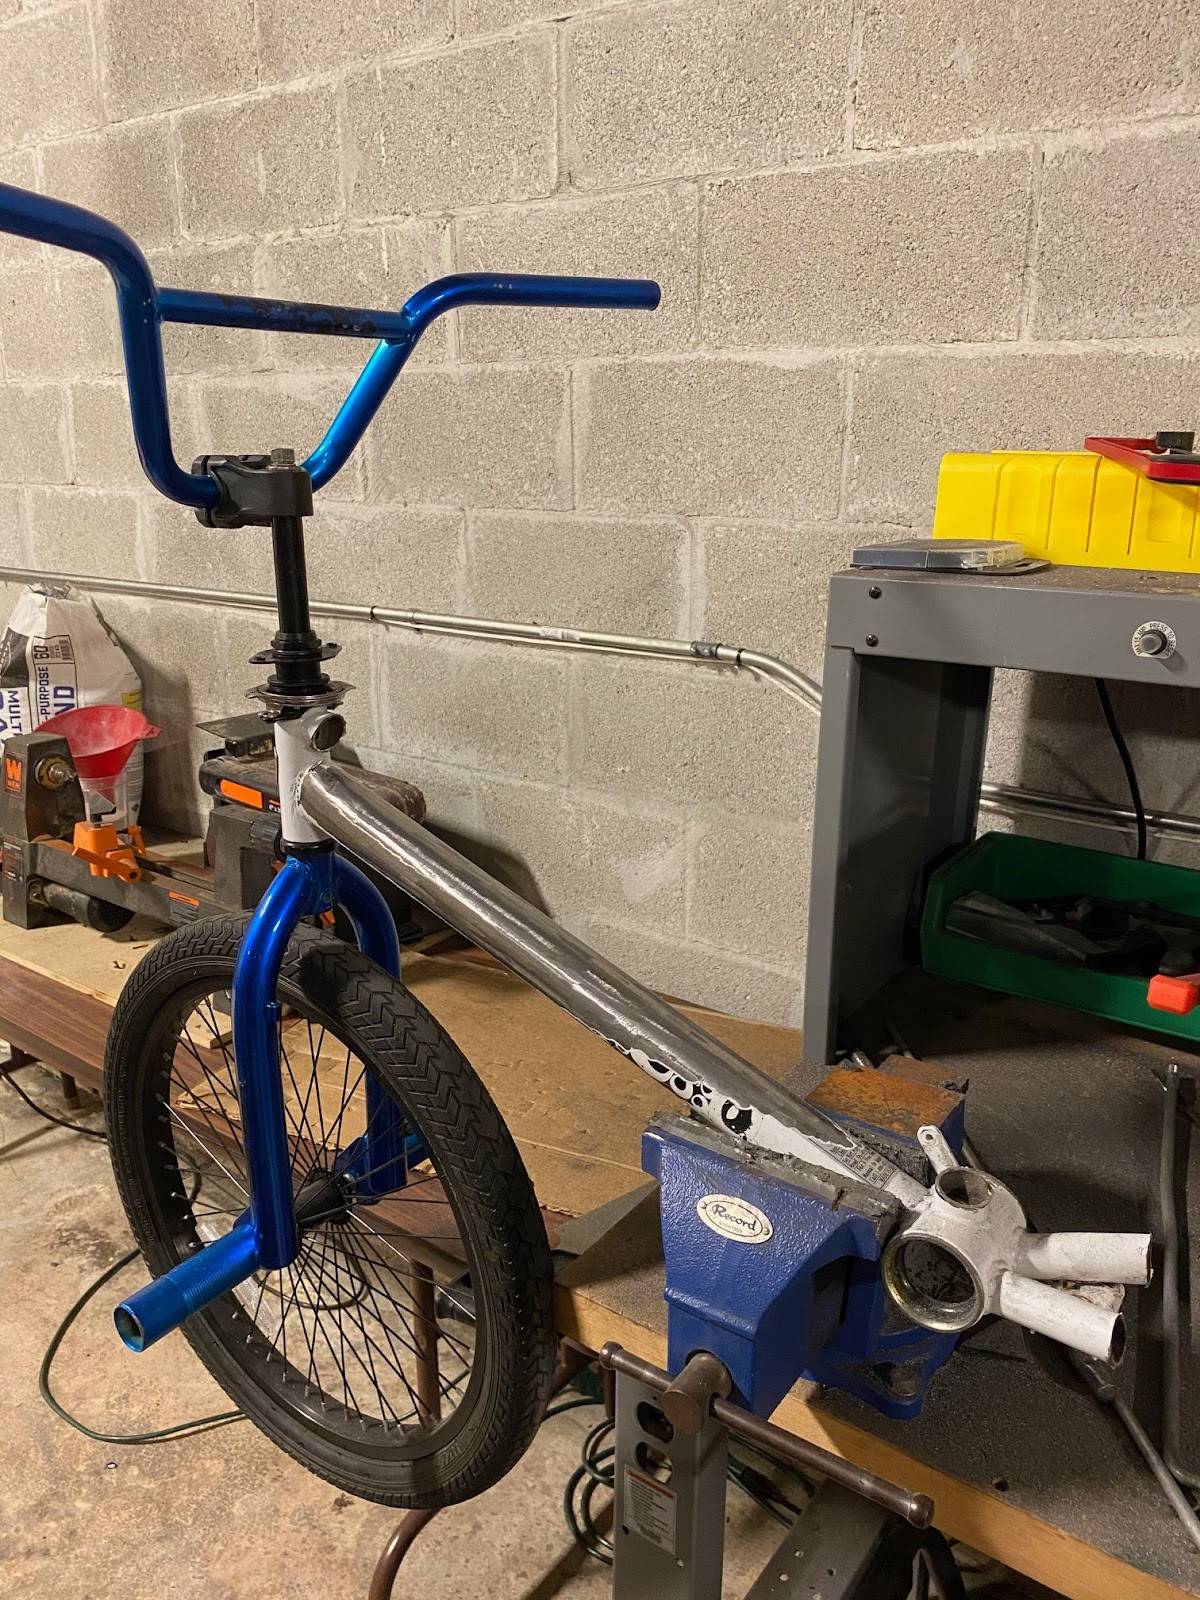
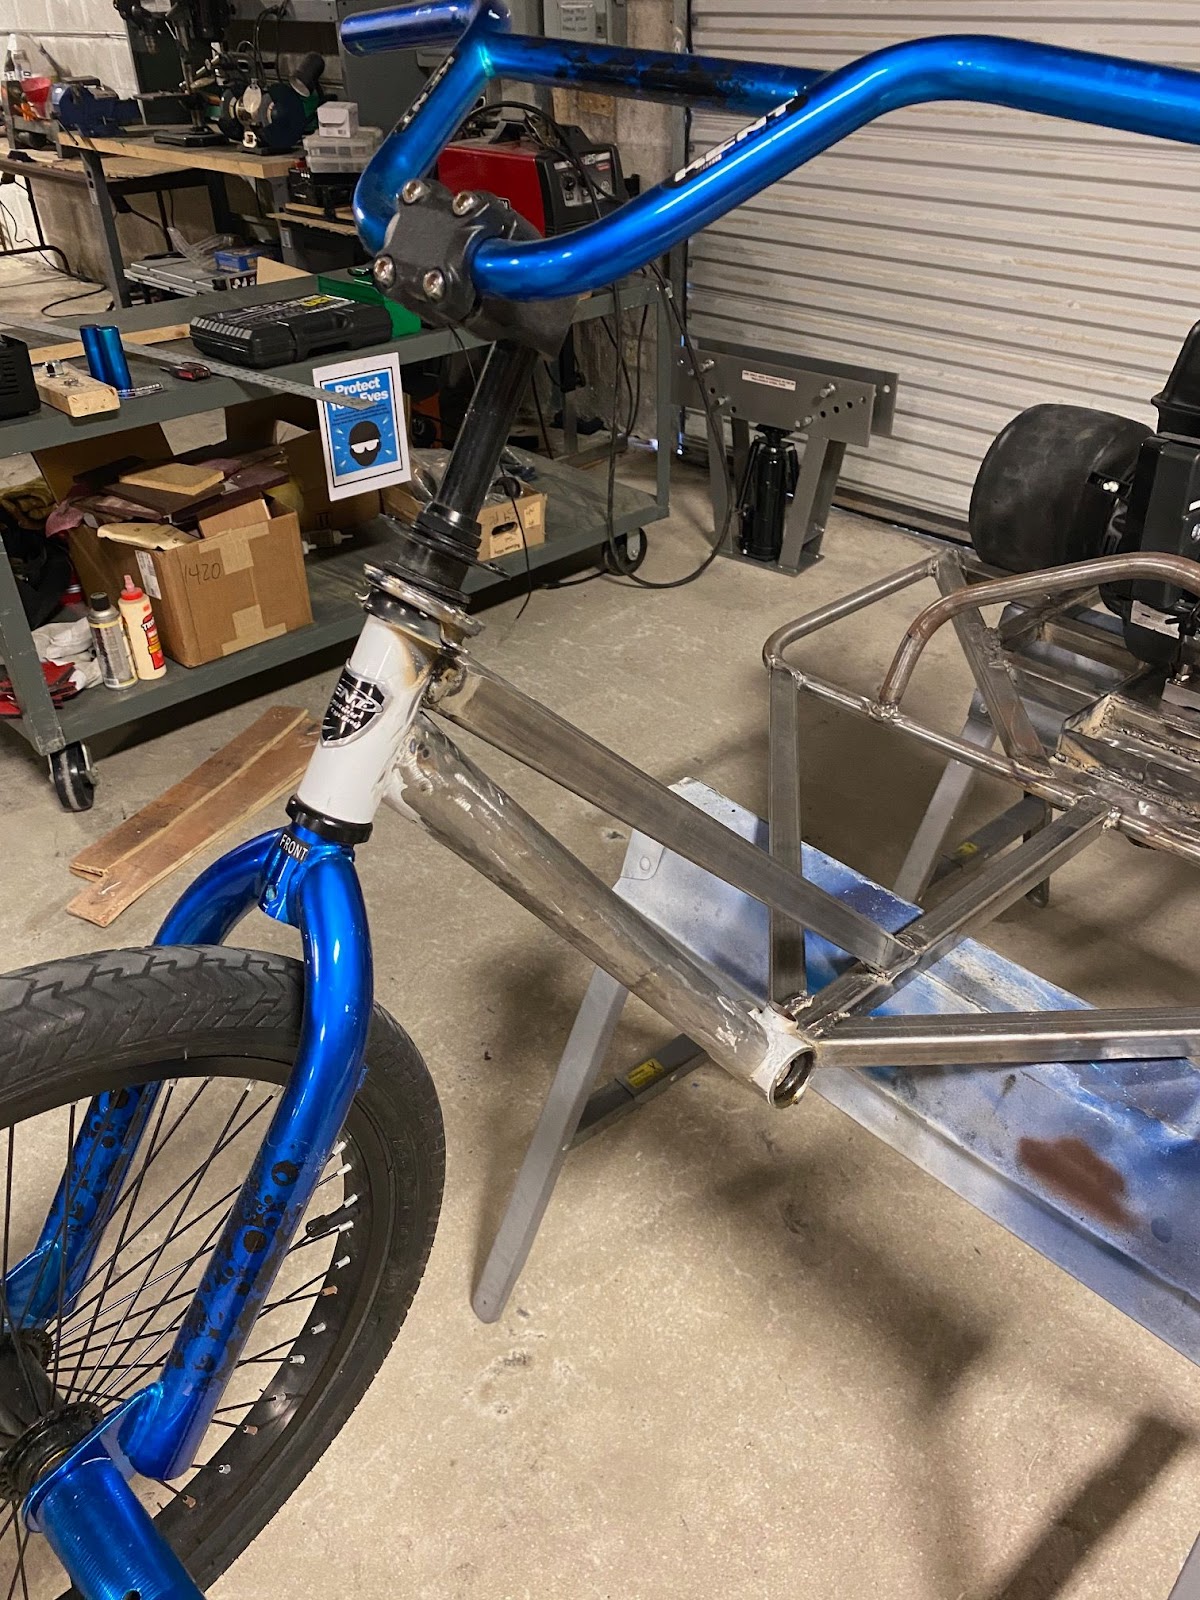
Step 4: Chopping up the BMX
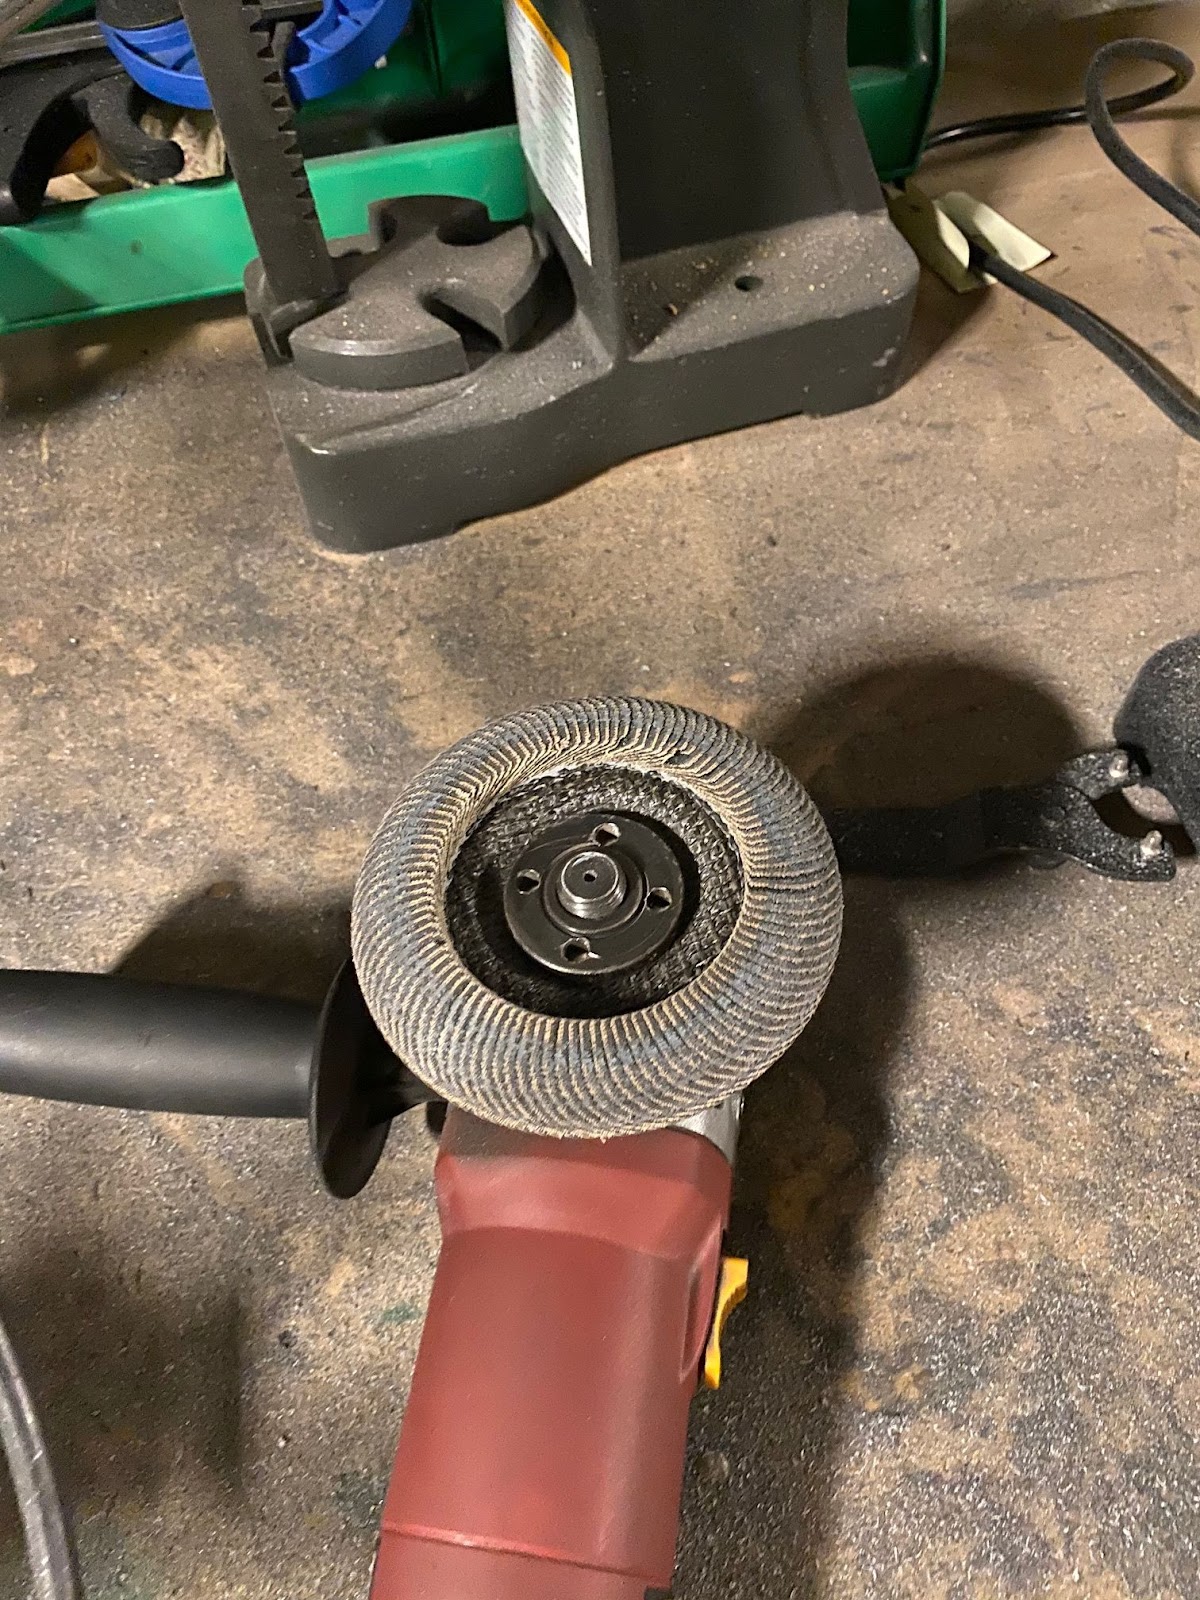
Start by cutting the top tube, seat tube, and chainstay from your BMX bike. All that you want left is the down tube and the front fork/wheel assembly. You want to weld the bottom bracket of the BMX to the rear part of your frame. I mocked up the rear frame with the BMX front before I began welding. You may also want to strip the paint from your BMX if you plan on giving the entire trike a new coat of paint when finished. I used a polish wheel to strip the paint off, which may have not been the best idea because it didn't leave a completely smooth surface. For a smooth surface I recommend using a paint stripper.
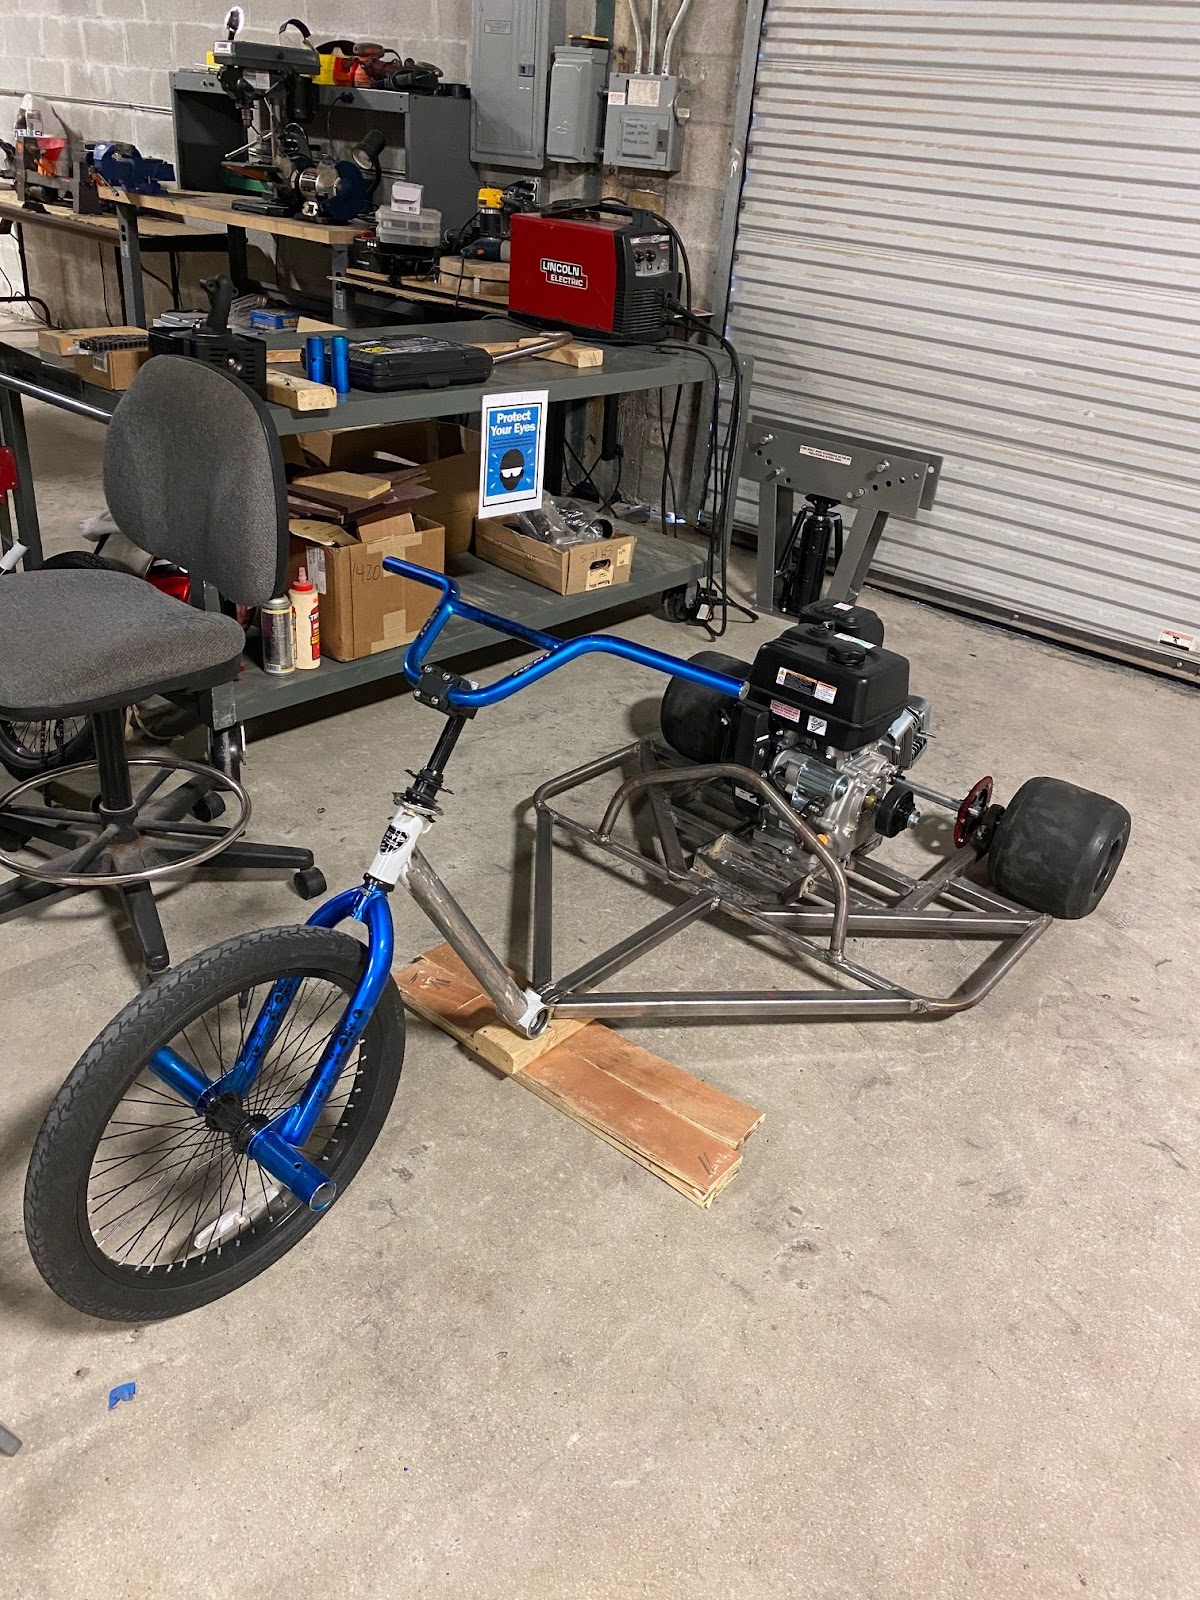
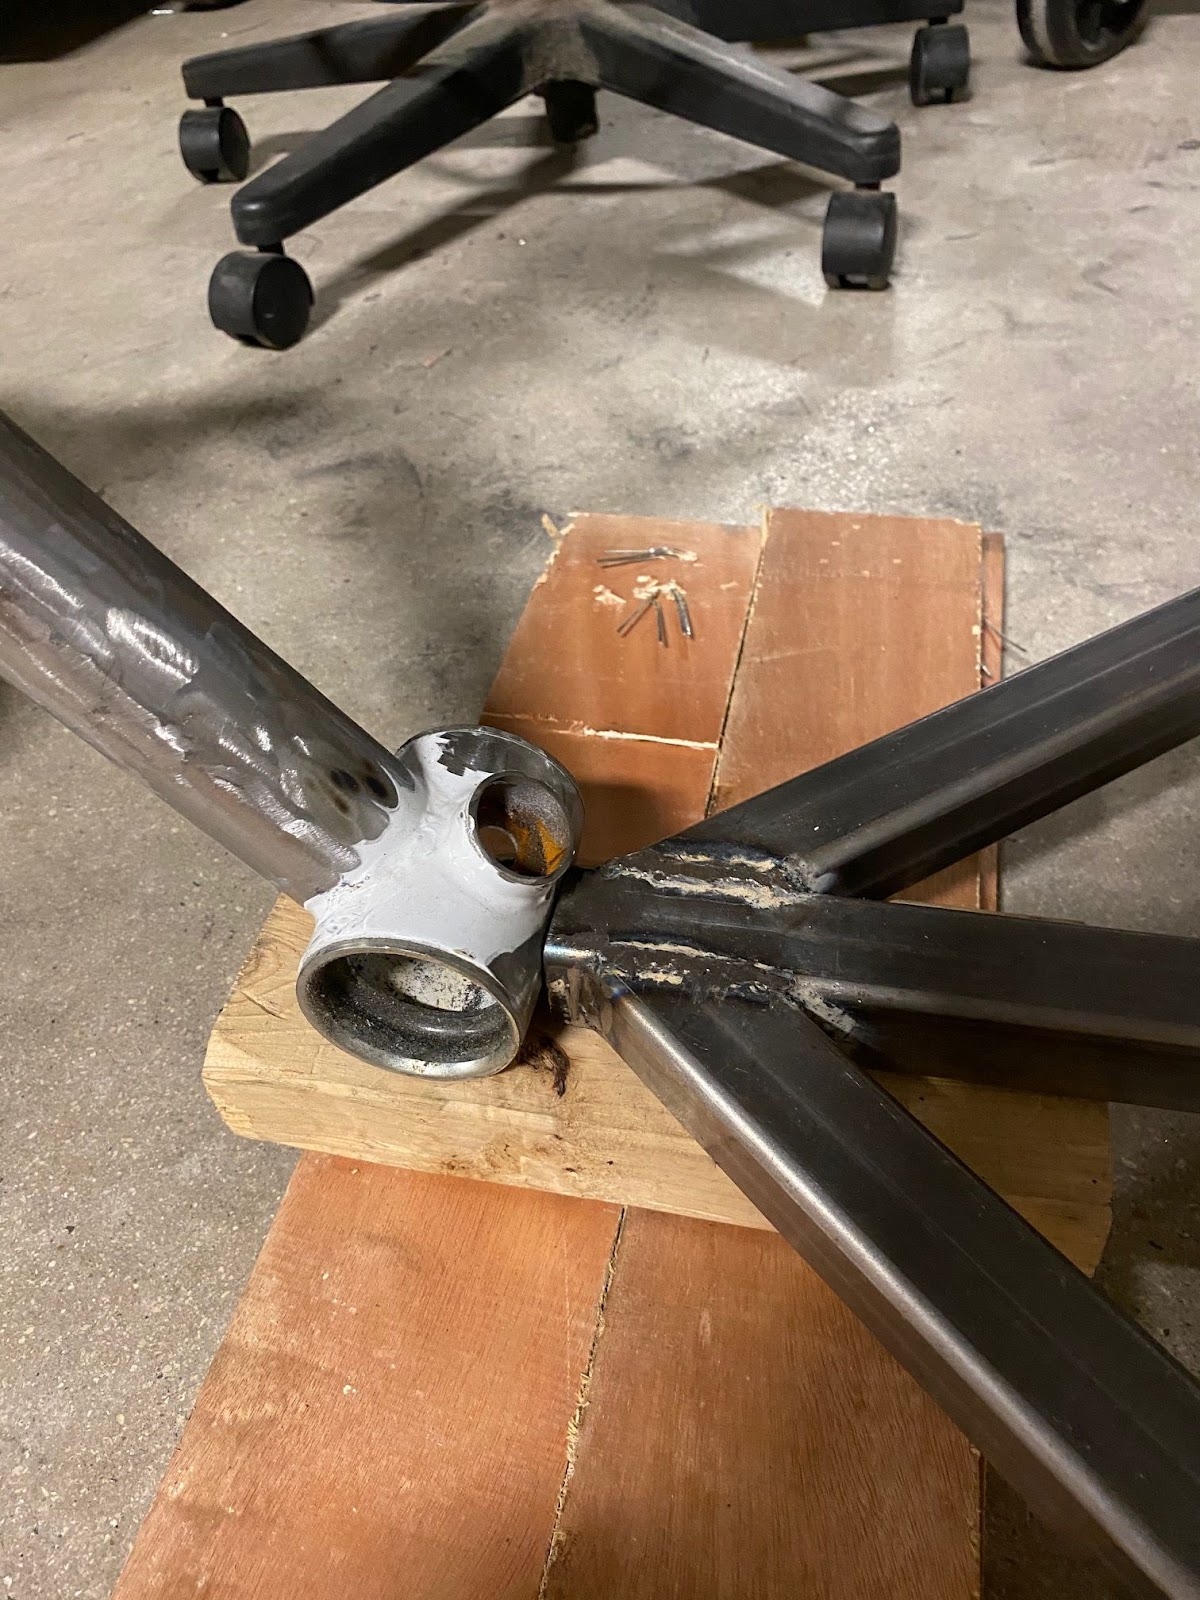
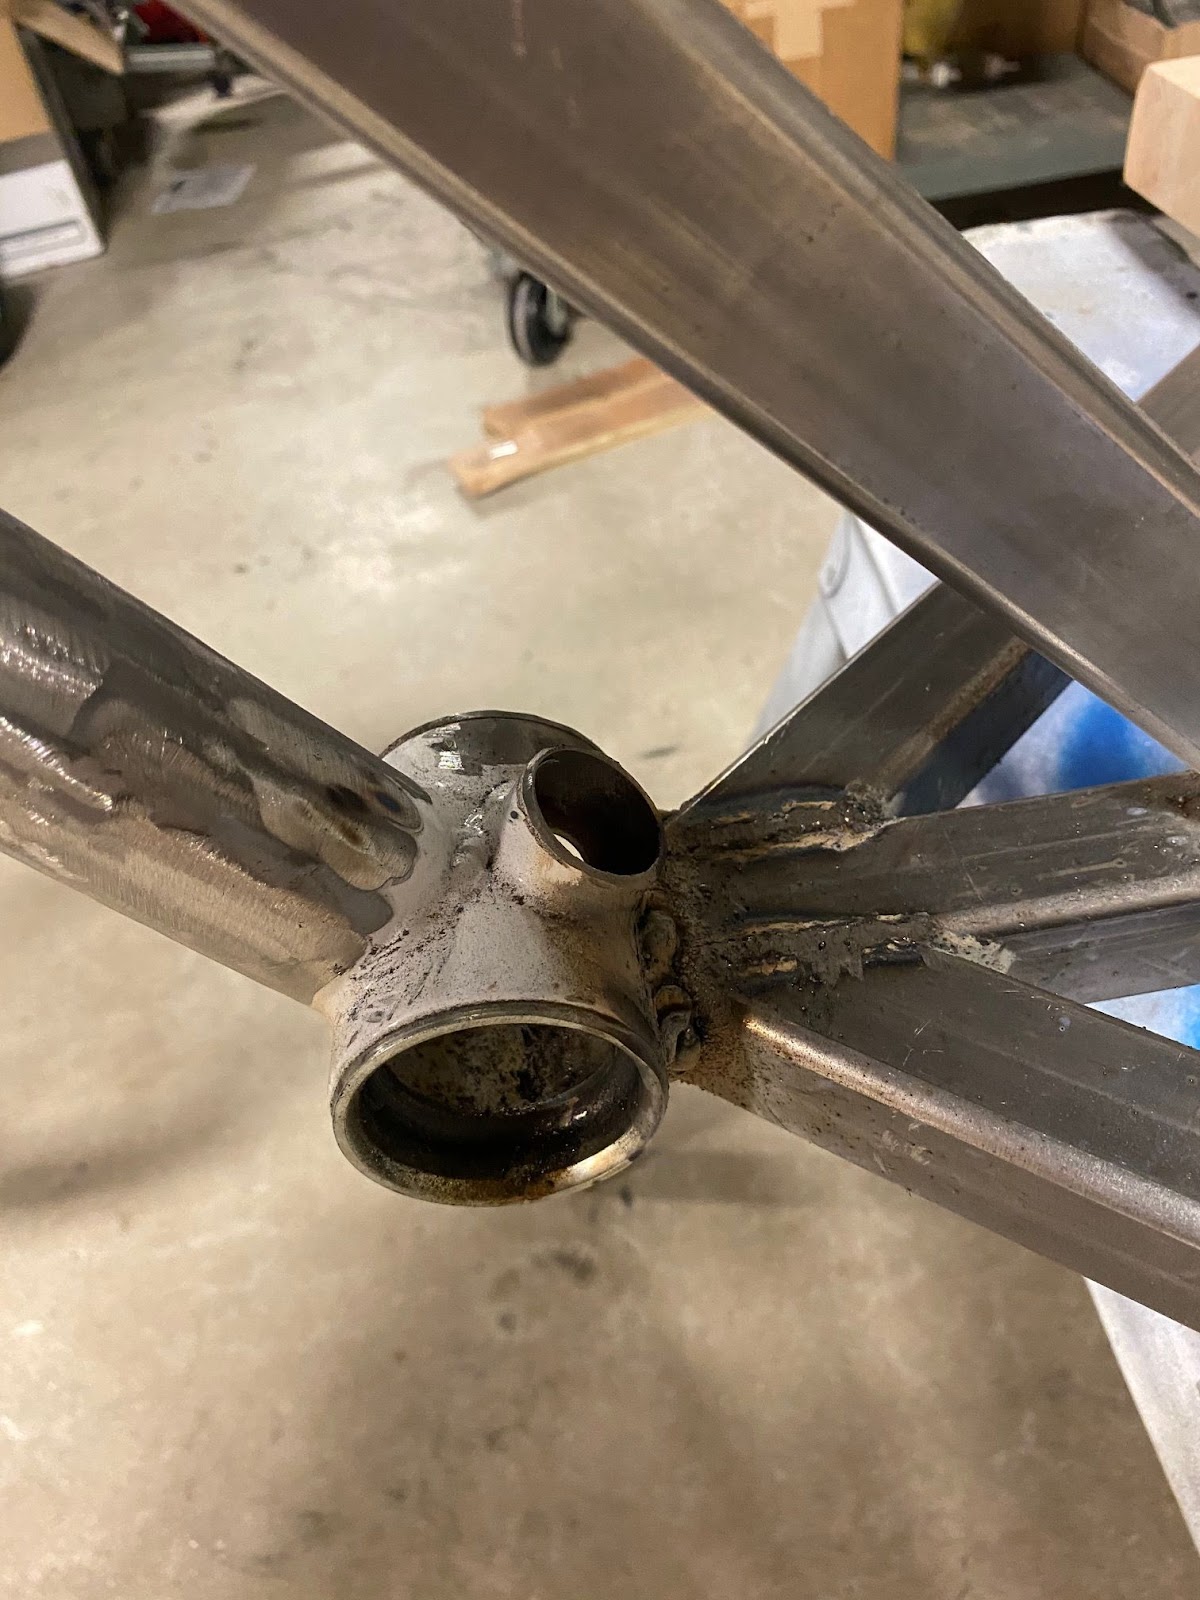
Step 5: Combining BMX front with rear frame
After I mocked up the frame and got the front and rear positioned properly I welded them together. Take your time with this as this is a major stress point for the chassis. For extra support I also welded in a custom top tube to take some of the load, which is optional.
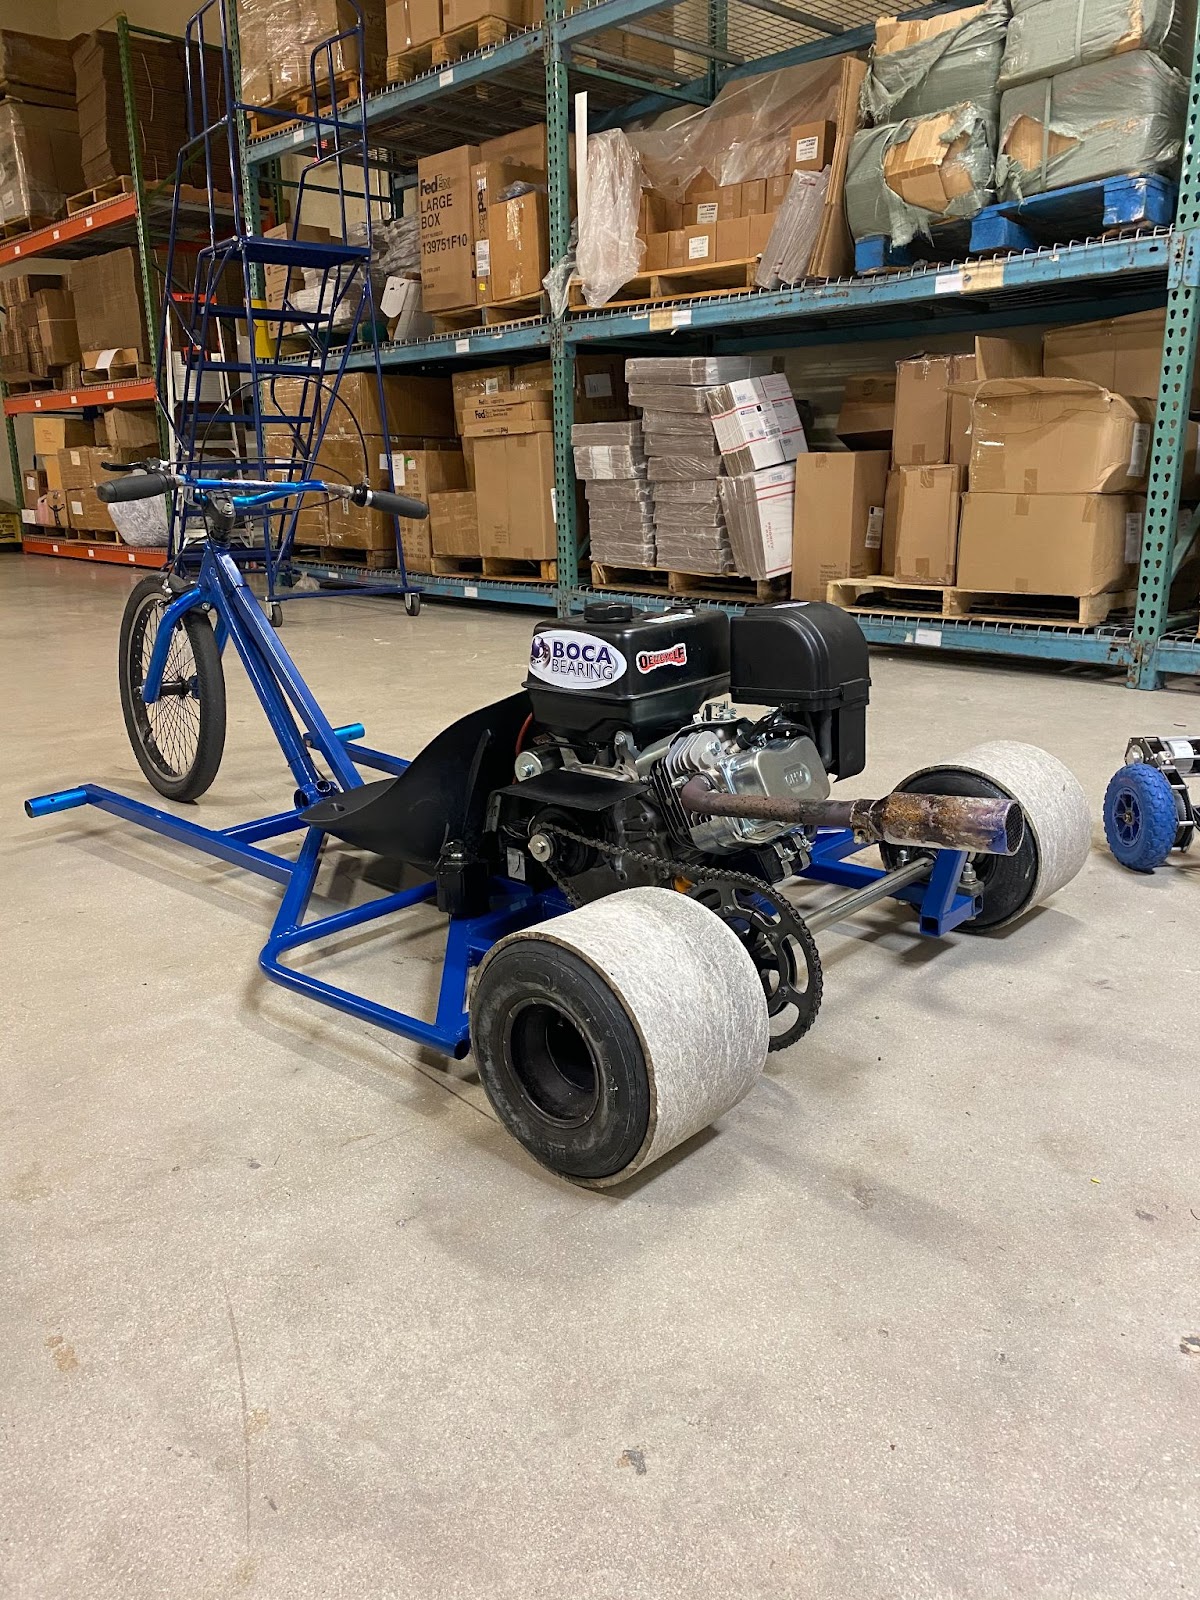
Step 6: Test ride!
After you have assembled the entire chassis make sure everything is tight before you ride. Give it a few test runs and fix problems that come up.
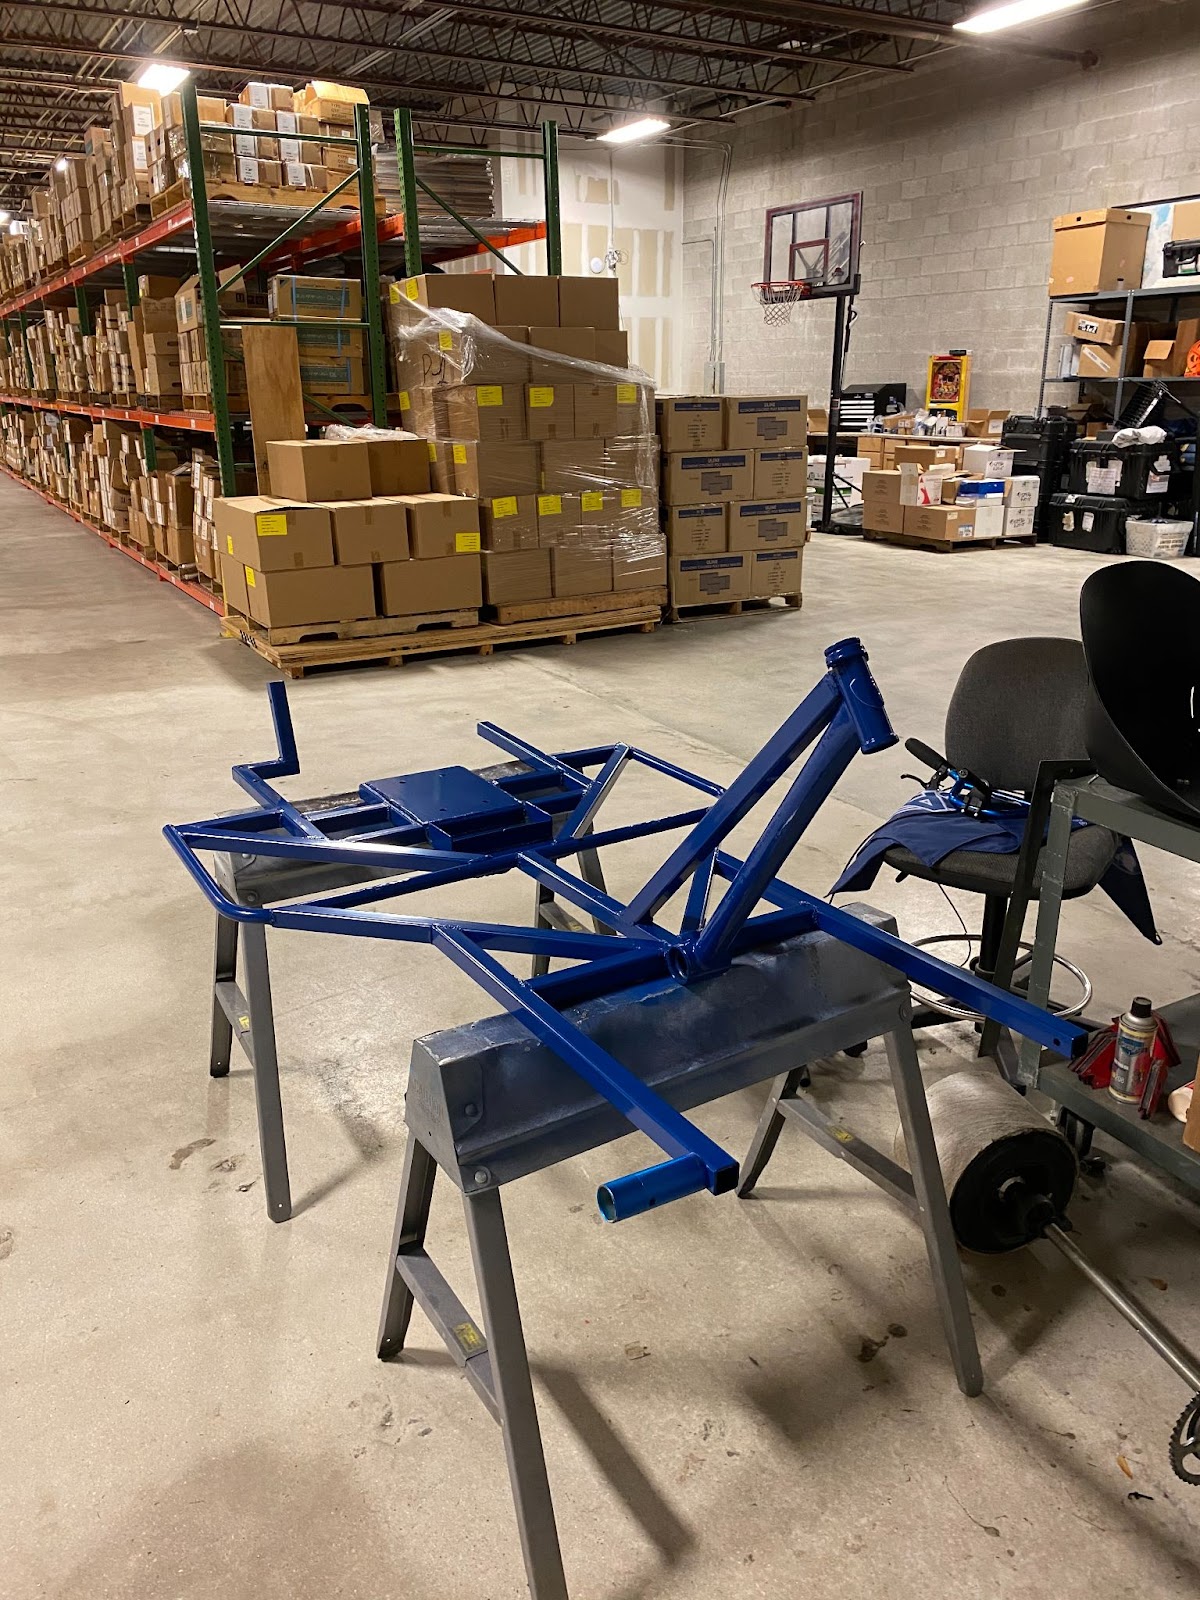
Step 7: Strip down/paint
Although at this point you may just want to leave it and have fun with the drift trike, it will be better in the long run if you disassembled it and prepped it for a powder coat or a paint job. I decided to go with a powder coat as it is very durable against the elements and I luckily had a guy in the bay next door to do it. I got my powder coat from here: https://www.prismaticpowders.com/
Before you paint or powder coat your chassis make sure to sand down any rust that has developed on the bare metal, as it will be hard for paint to adhere to your frame if there is too much rust. I recommend using a polish/sanding disk on an angle grinder.
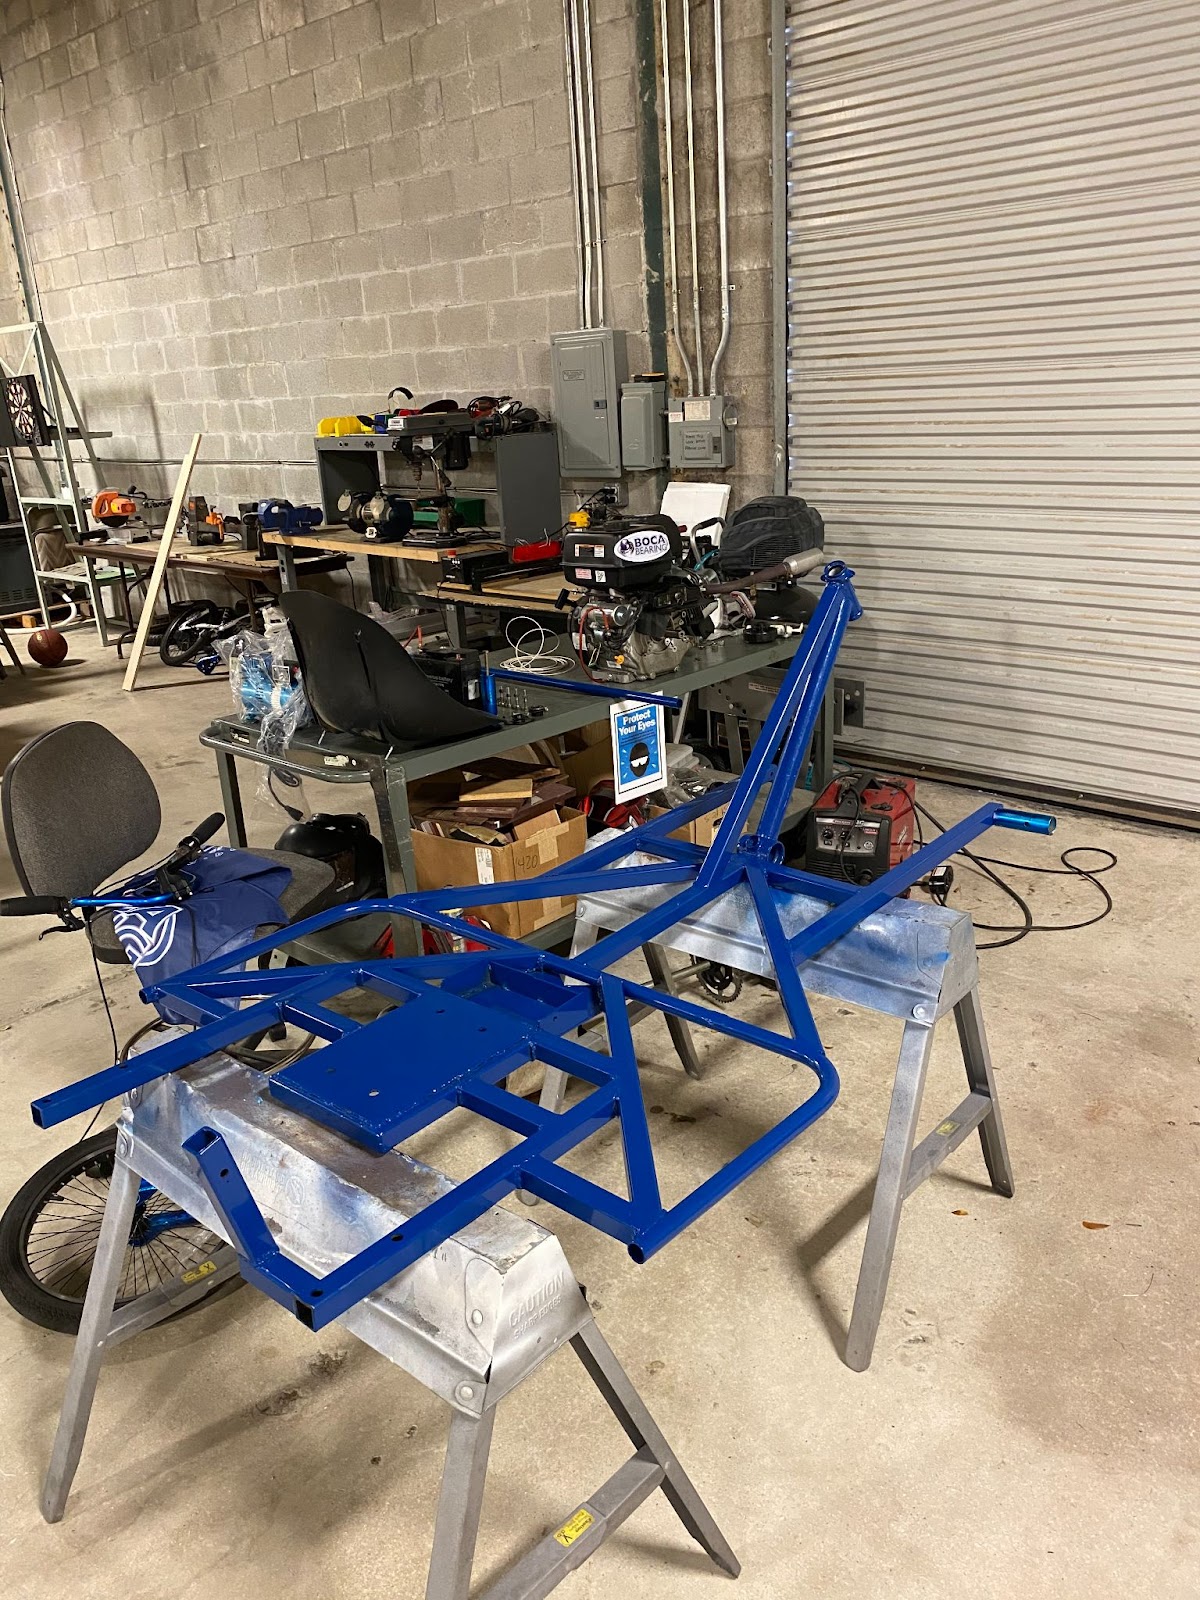
Step 9: Reassemble
After your frame has been painted or powder coated it's time for the final reassemble. Take your time and make sure all the components are tight and in the correct place, also taking care not to scratch up your newly painted frame.
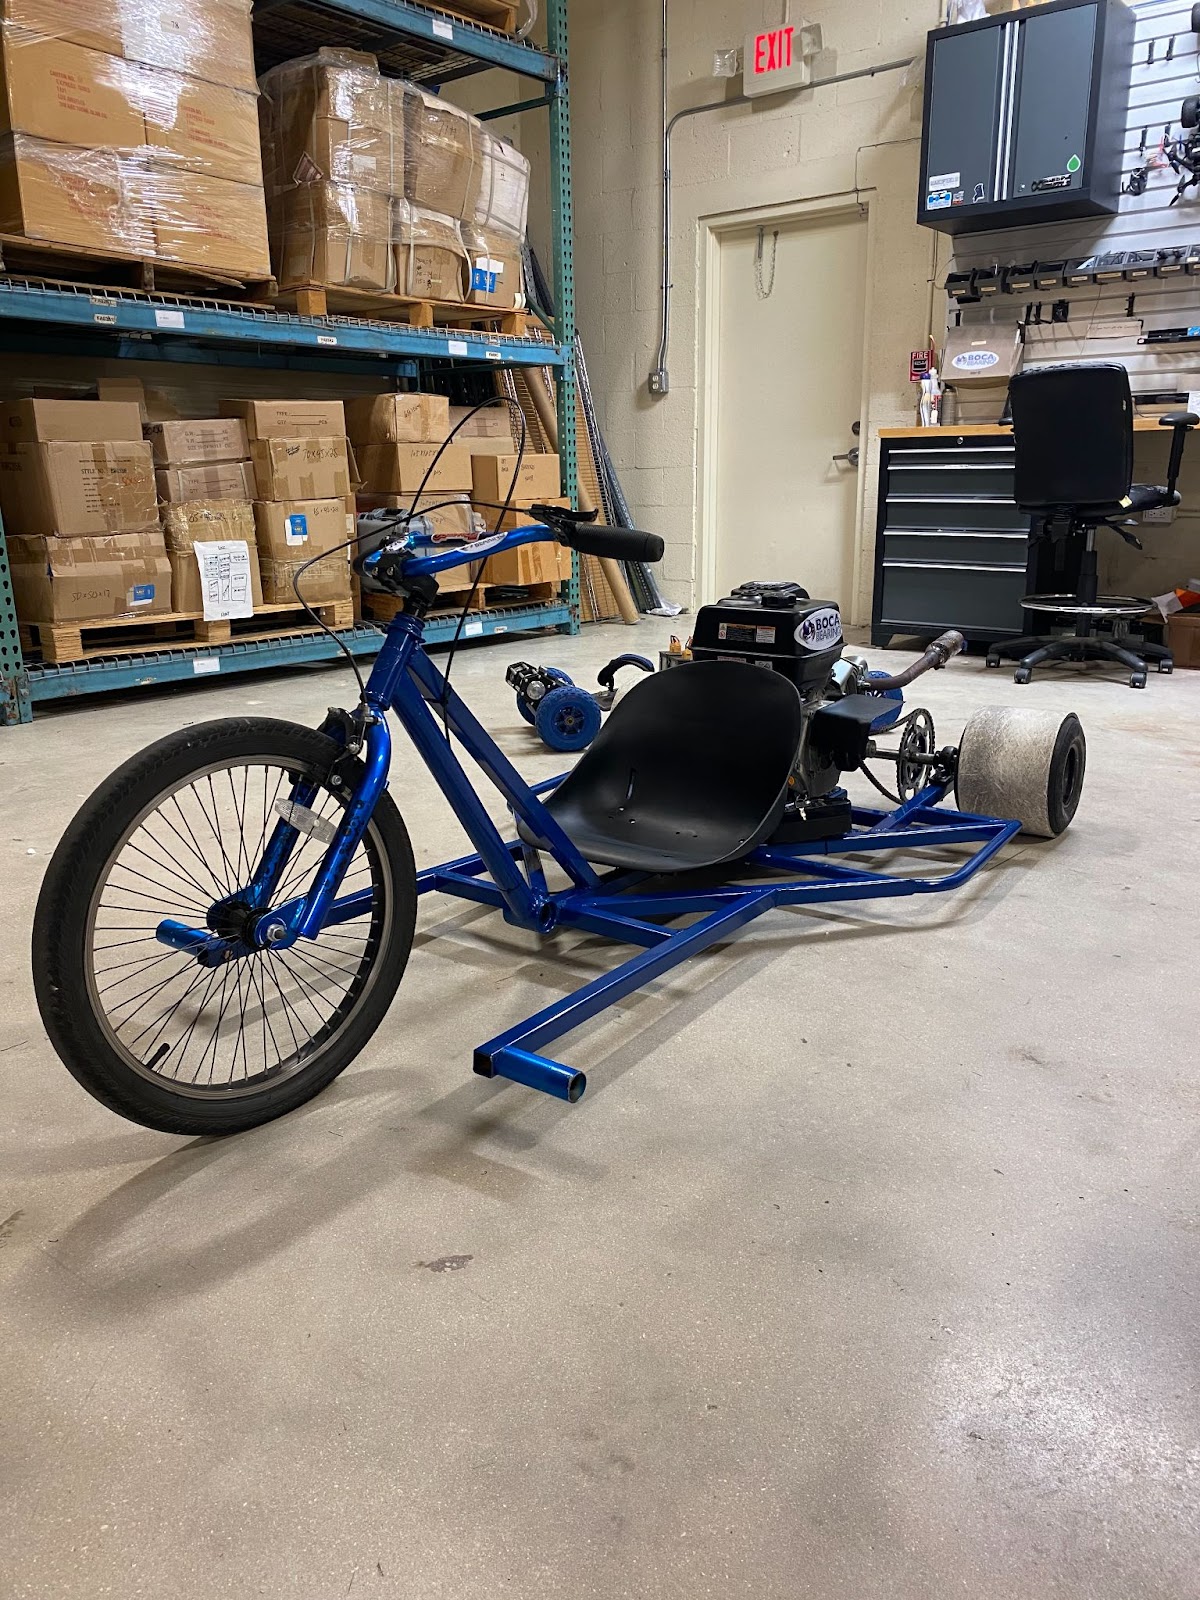
Step 10: Ride
Enjoy your new drift trike!
UPDATE!
One of the editors at Instructables liked the bike so much they decided to featured it ! We are Thrill!
