3D Printed R/C 3-Wheeler
3D Printed R/C 3-Wheeler
Sep 08, 2021
Michael Rudinsky
The 3D printed R/C 3-Wheeler that I printed and built was designed by Andre Tessier. When you download the files, the instructions are very easy to follow with a complete list of materials and links to the parts required. For this project, I used standard PLA filament, Tianse Gray and Paramount 3D Black Cherry. There are 10 bearings required, 4 pcs. 10x15x4mm and 6 pcs. 5x10x4mm. I used our Stainless Steel, Ceramic Hybrid Yellow Sealed bearings. This design has a modular setup. The front, middle and rear sections are built separately then attached together for easy access should you need to replace any parts. This project is for an intermediate R/C enthusiast and 3D printer. The link to this project can be found here: tessier.work 3D Printable Radio Controlled 3 Wheels car (STL Files only).
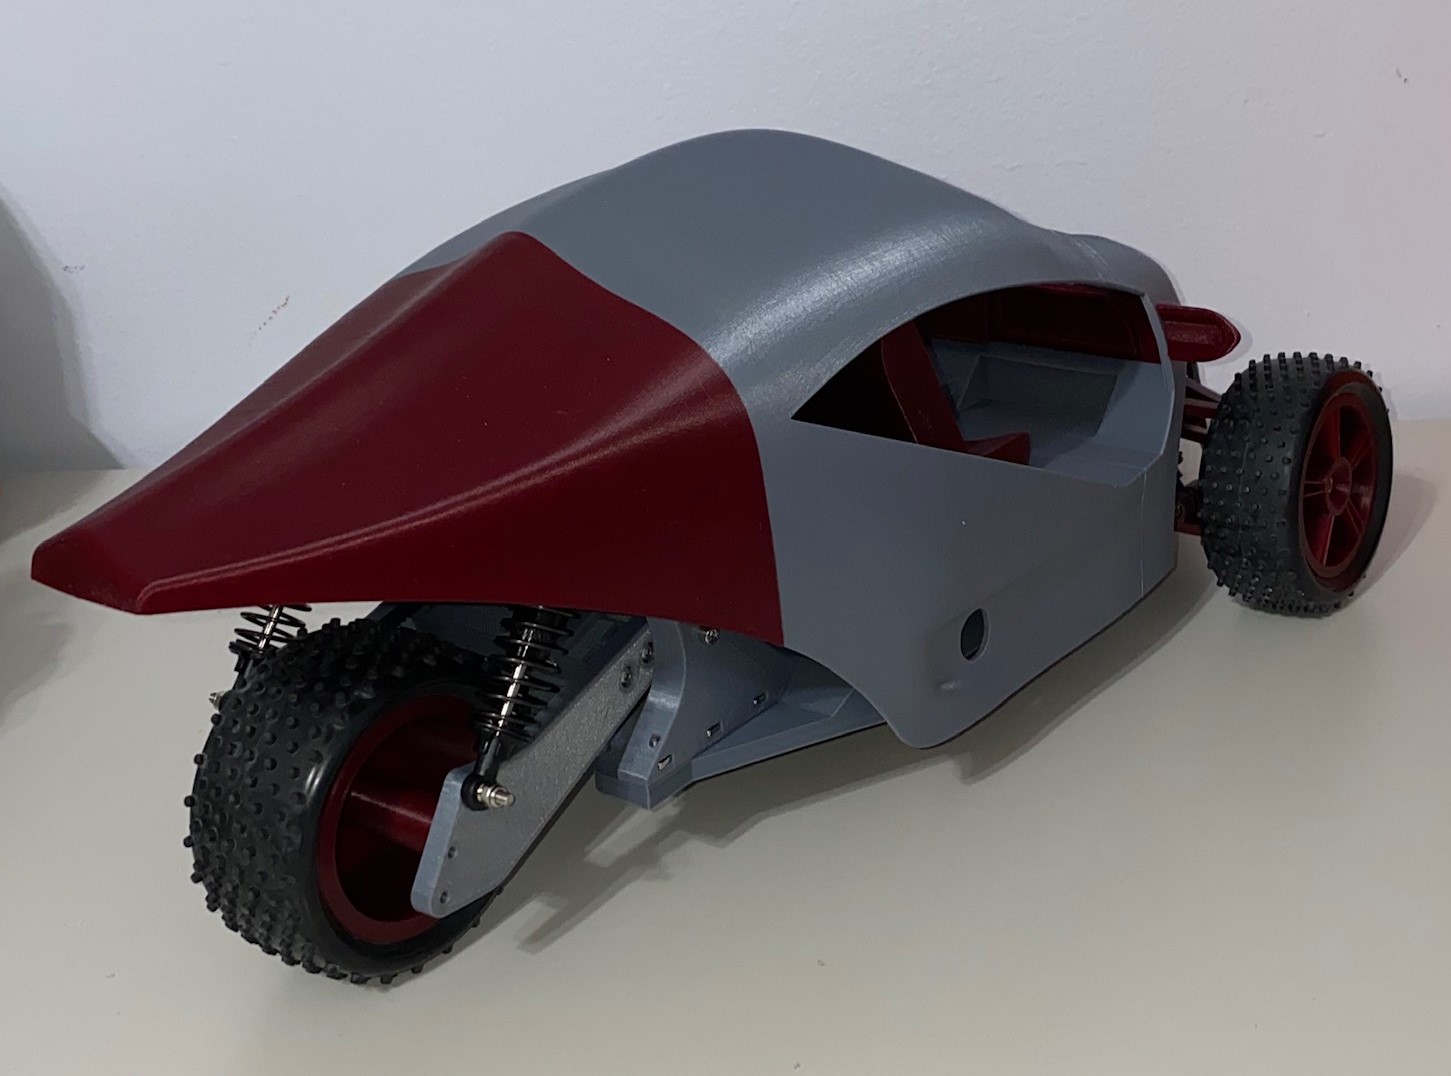
Here’s the completed model.

These pictures show the 4 main parts for the body. The body is assembled separately from the chassis. These parts have the longest print time, I would estimate the print time was about 80 hours.
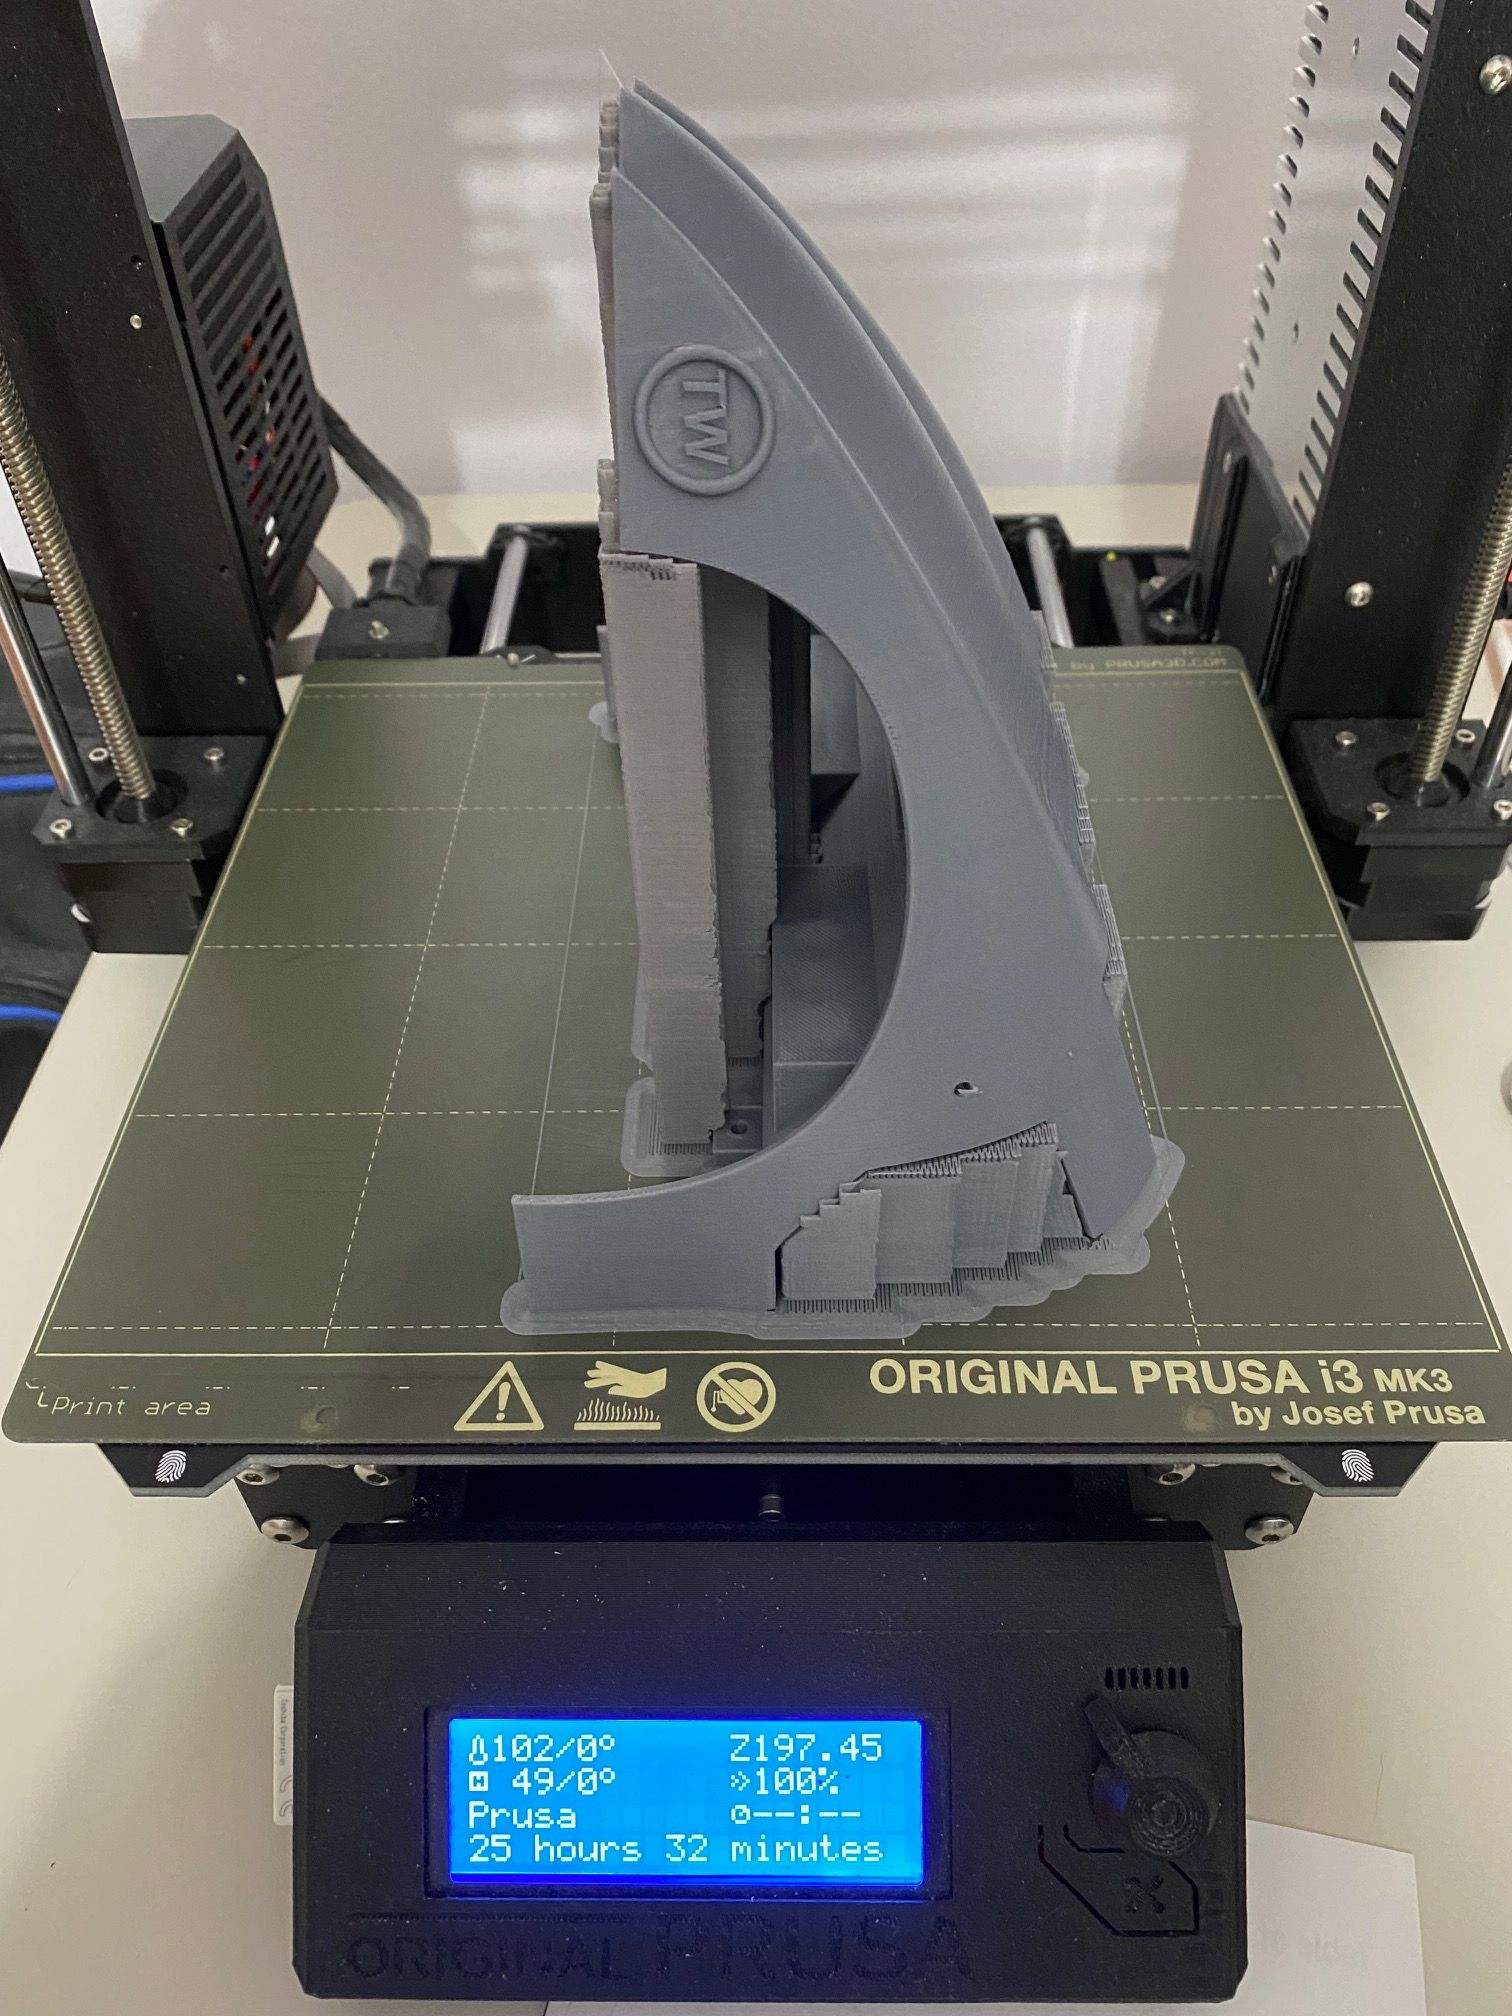
Here is the front section of the body before the supports and brim were removed. Having your support settings dialed in is important to minimize scarring. As you can see in the picture, the print time was just over 25.5 hours.
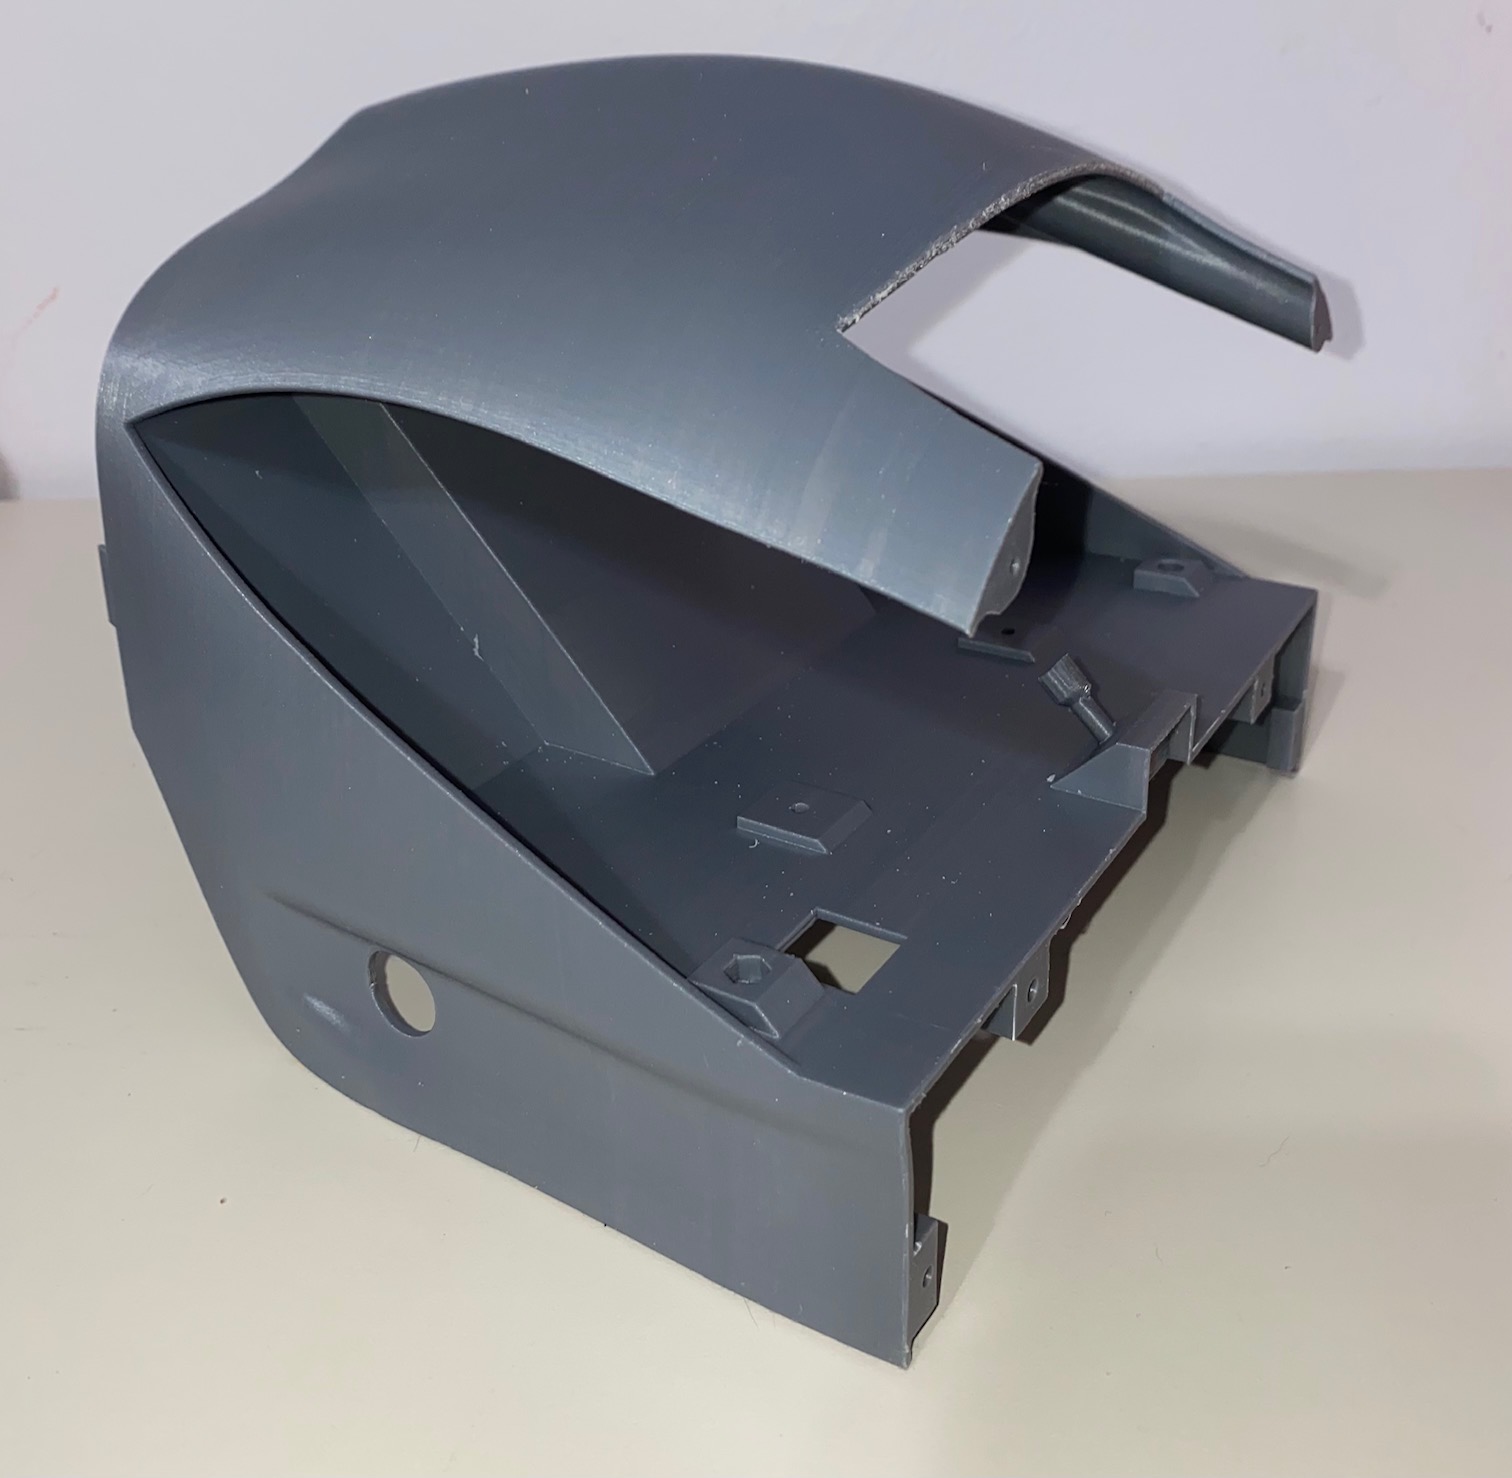
Here is the front body part after the supports and brim were removed. The front bumper is shown before it was attached to the chassis.
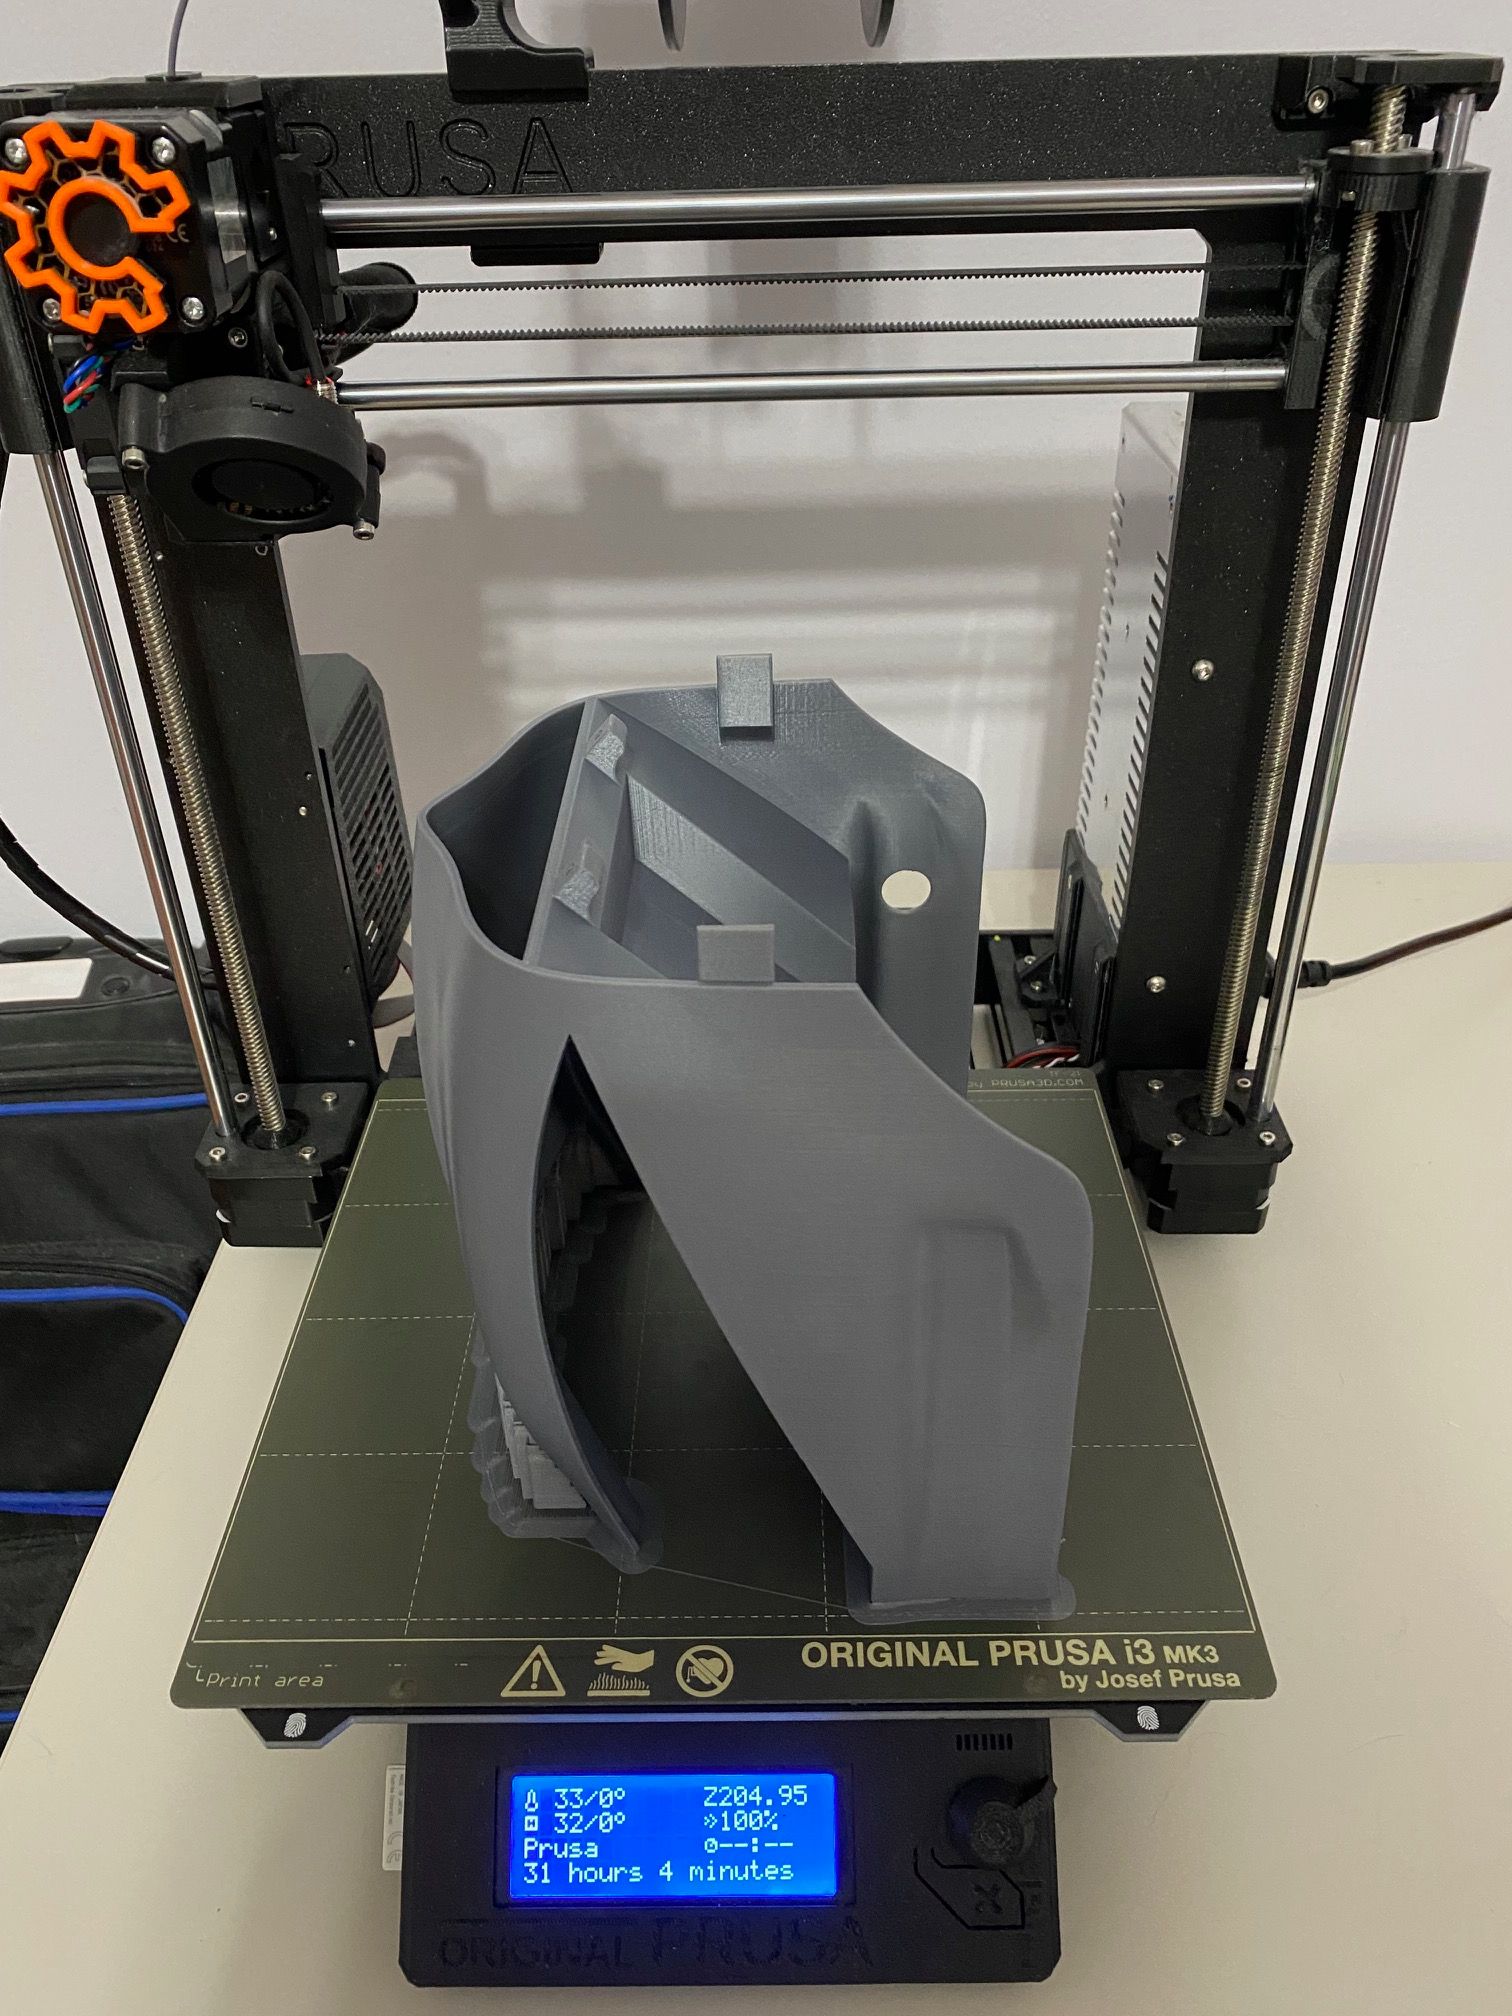
This is the middle section of the body before the supports and brim were removed. Showing the part as it was printed before it was removed from the print bed. As I mentioned, it’s important to have the correct support to reduce any scarring on the parts. The picture shows the print time to be just over 31 hours.

Here’s the middle section of the body after the supports and brim were removed.
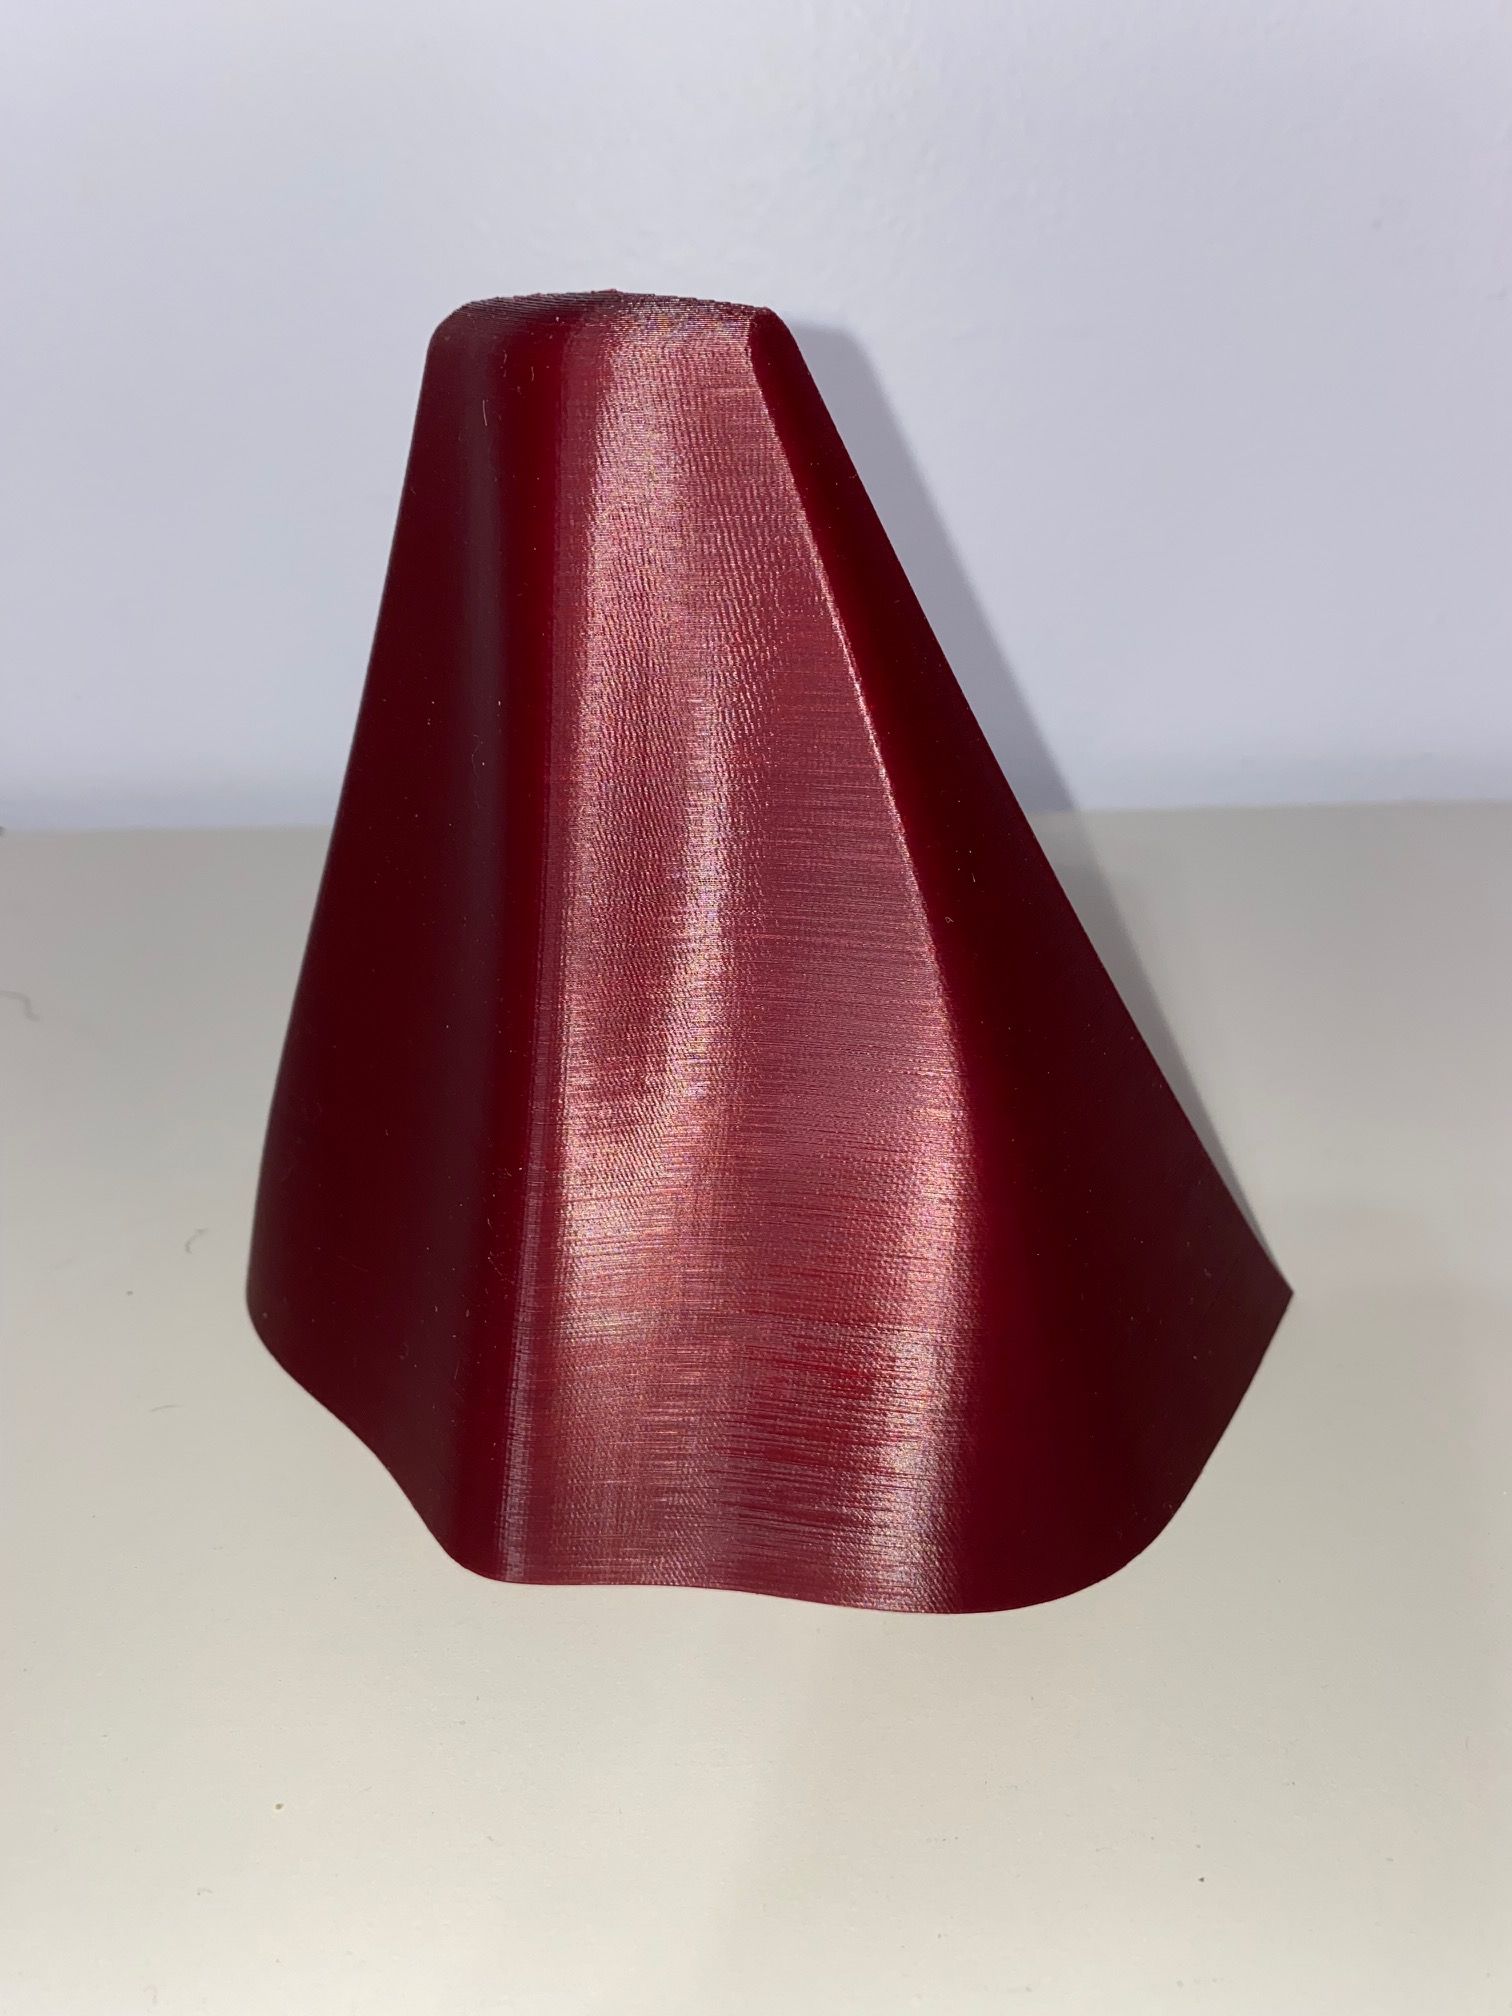
And finally the rear section of the body. Very easy clean print that creates a nice aerodynamic look to the back of the vehicle.
Here’s a picture of the completed body with the dashboard, seats and side mirrors attached. The assembled body measures about 19.5 inches, about the same size as an 1/8th scale R/C car.

Here is the completed front end assembly showing the servo, shocks and axles. There are a few options to print with length steering links and wishbones to change the camber and toe in of the wheels. The front bumper is sprint loaded to allow the bumper to absorb some impact without breaking.

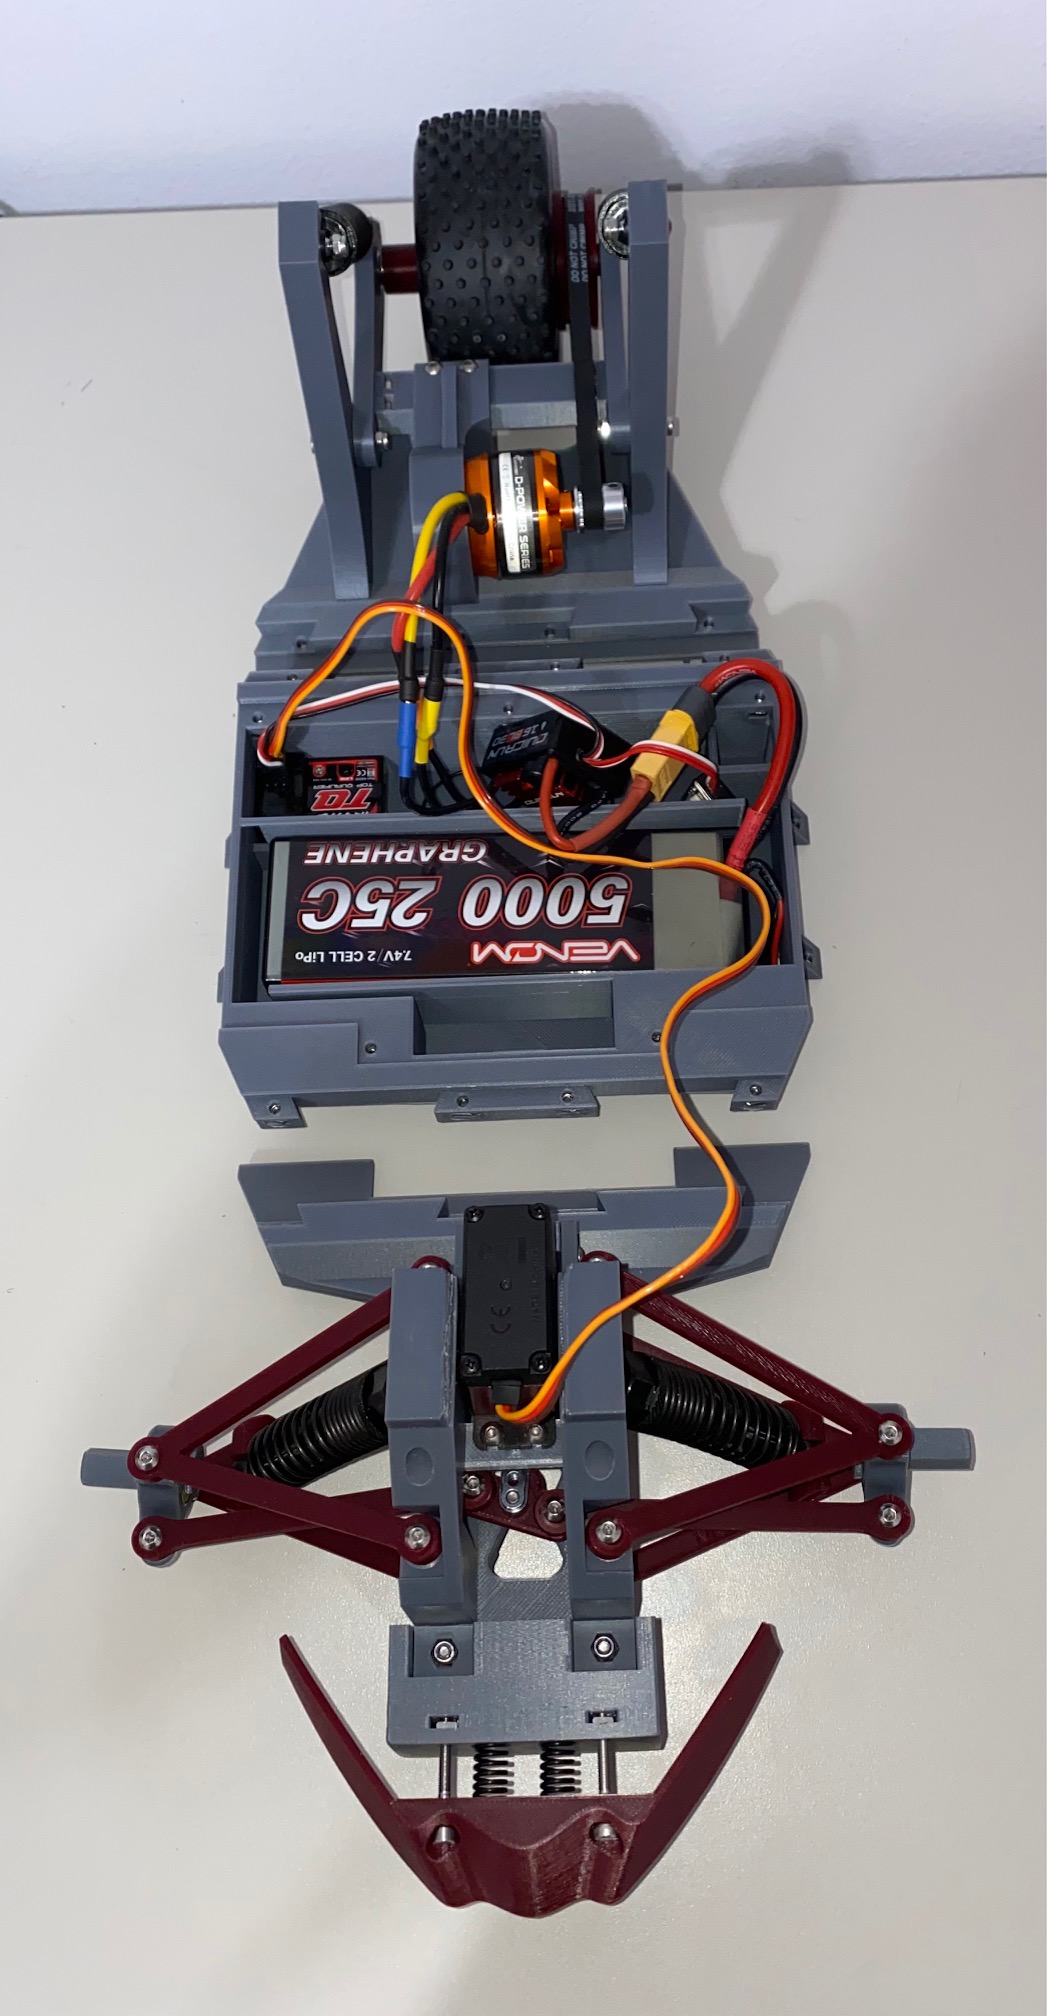
Here is the completed rear section of the vehicle. The rear assembly has a swing arm suspension with a brushless motor and belt drive.

Here’s the front, middle and rear sections ready to be connected together. The middle section has slots and openings for the wiring and holds the 2S Lipo battery, receiver and electronic speed controller.
The fully assembled chassis, all wired up and ready for the body to be connected.

A final picture of the vehicle with the body attached.